
For many of us, collecting high-end art is not really a feasible hobby these days, but large blank walls are just not the vibe either. As a millennial struggling with champagne taste on a beer budget, I’ve become a big fan of DIY projects around the house and in particular, wall art. Though I have a great appreciation for artwork, I find that a lot of the art sold in large retailers is somewhat easy to replicate, so for the past several years I’ve been creating small pieces here and there of my own creations inspired by pieces I see online and in stores. I find a lot of joy, pride, and most importantly therapeutic effects from creating my own wall art, and I love that it quite literally brings a personal touch into your home.
As a long-time lover of abstract artwork, especially those with texture, I was beyond excited when one of my girlfriends told me about a DIY project she had come across online to create abstract art with everyday wall plaster. So we did what any girls would do and make a ladies’ weekend art project out of it. I won’t say we were experts by any means; we went through a lot of trial and error, and I’ll be honest, I had a raging bout of OCD/anxiety that led me to trashing my original attempt at this, going back to the store for more materials, and starting from square one on the damn thing. But maybe that does make us experts on this project, because I’d say we’ve perfected the technique many a time over since we started.

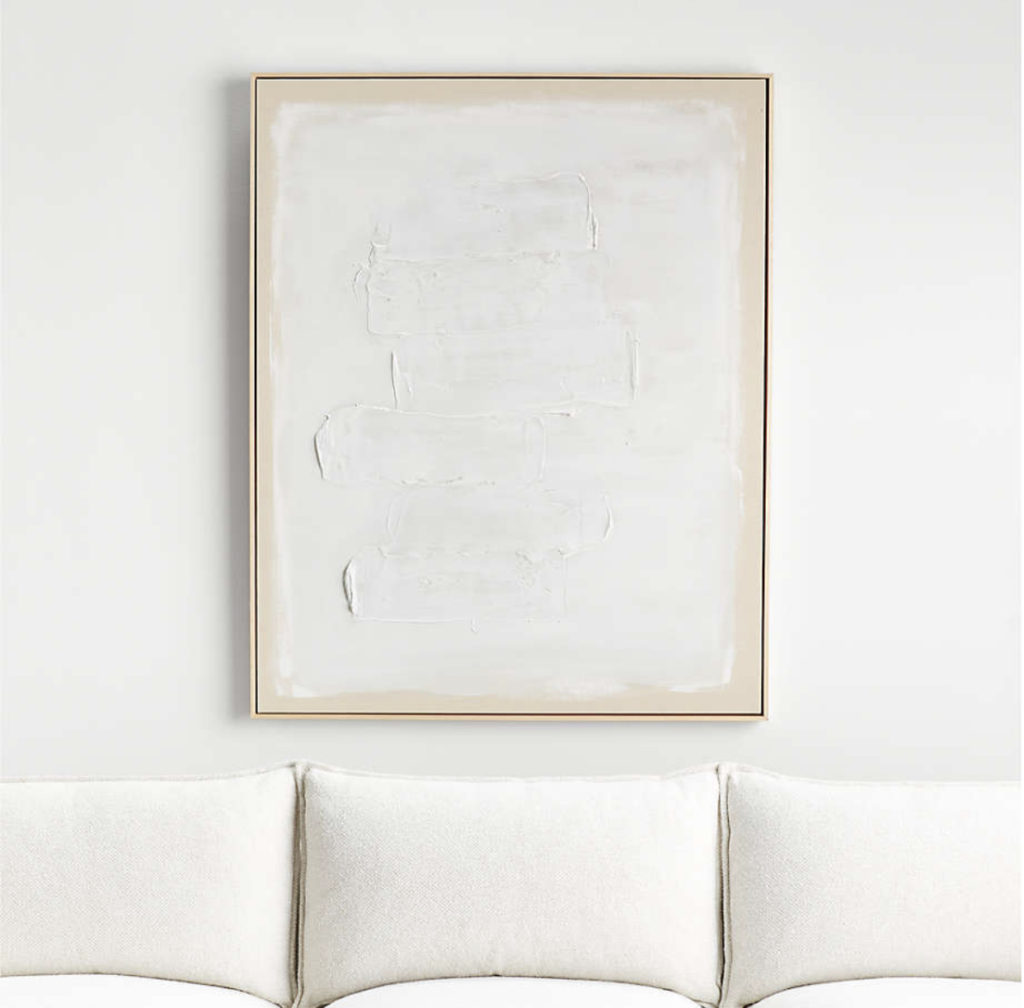
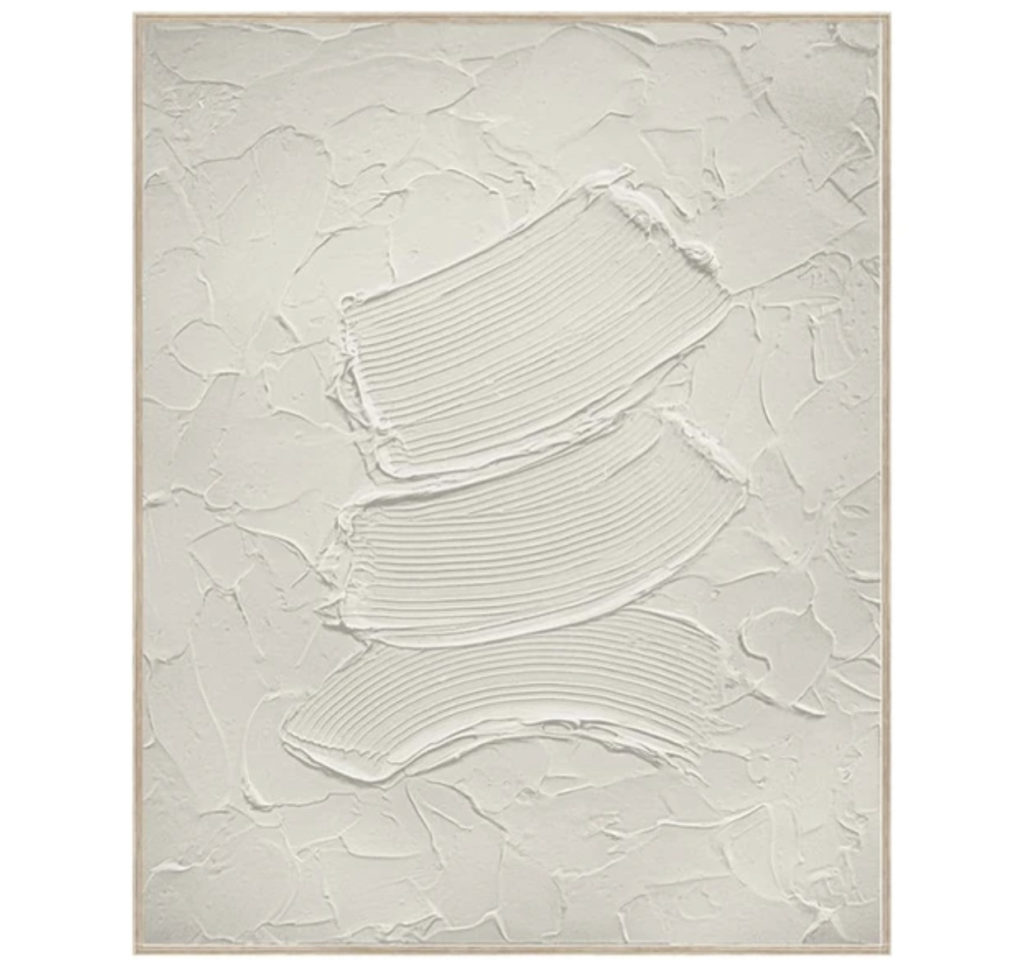
In terms of inspiration, we found several pieces online that gave us some starting points to work from. Note that many of these are so beautiful but retail for $200-$800. If you find joy in getting messy and creative, why not create your own for less?
Here’s what you’ll need:
Framed Canvas – we found a sizable amount of these at Home Goods; we selected a 24×36 frame, which we purchased for about $40. There were several smaller options for $20 or less.
Spackling Paste or Drywall Mud – you can find this at Home Depot, Lowe’s or any home improvement store. We bought All-Purpose Spackling Paste, and used around one and a half 32oz buckets for each canvas (size above). A 32oz bucket will run you about $7-$8.
Putty Knives – you will use these to apply the plaster to the canvas. We found a set of three plastic putty knives in varying sizes for just under $3 at Home Depot.
Painter’s Tape – this comes in handy for covering the edges of the frame. We bought a roll of tape for about $6-$7.
OPTIONAL: Small Hand Rake or Plastic Fork – these can be used to add texture or lined shapes such as arches or circles.
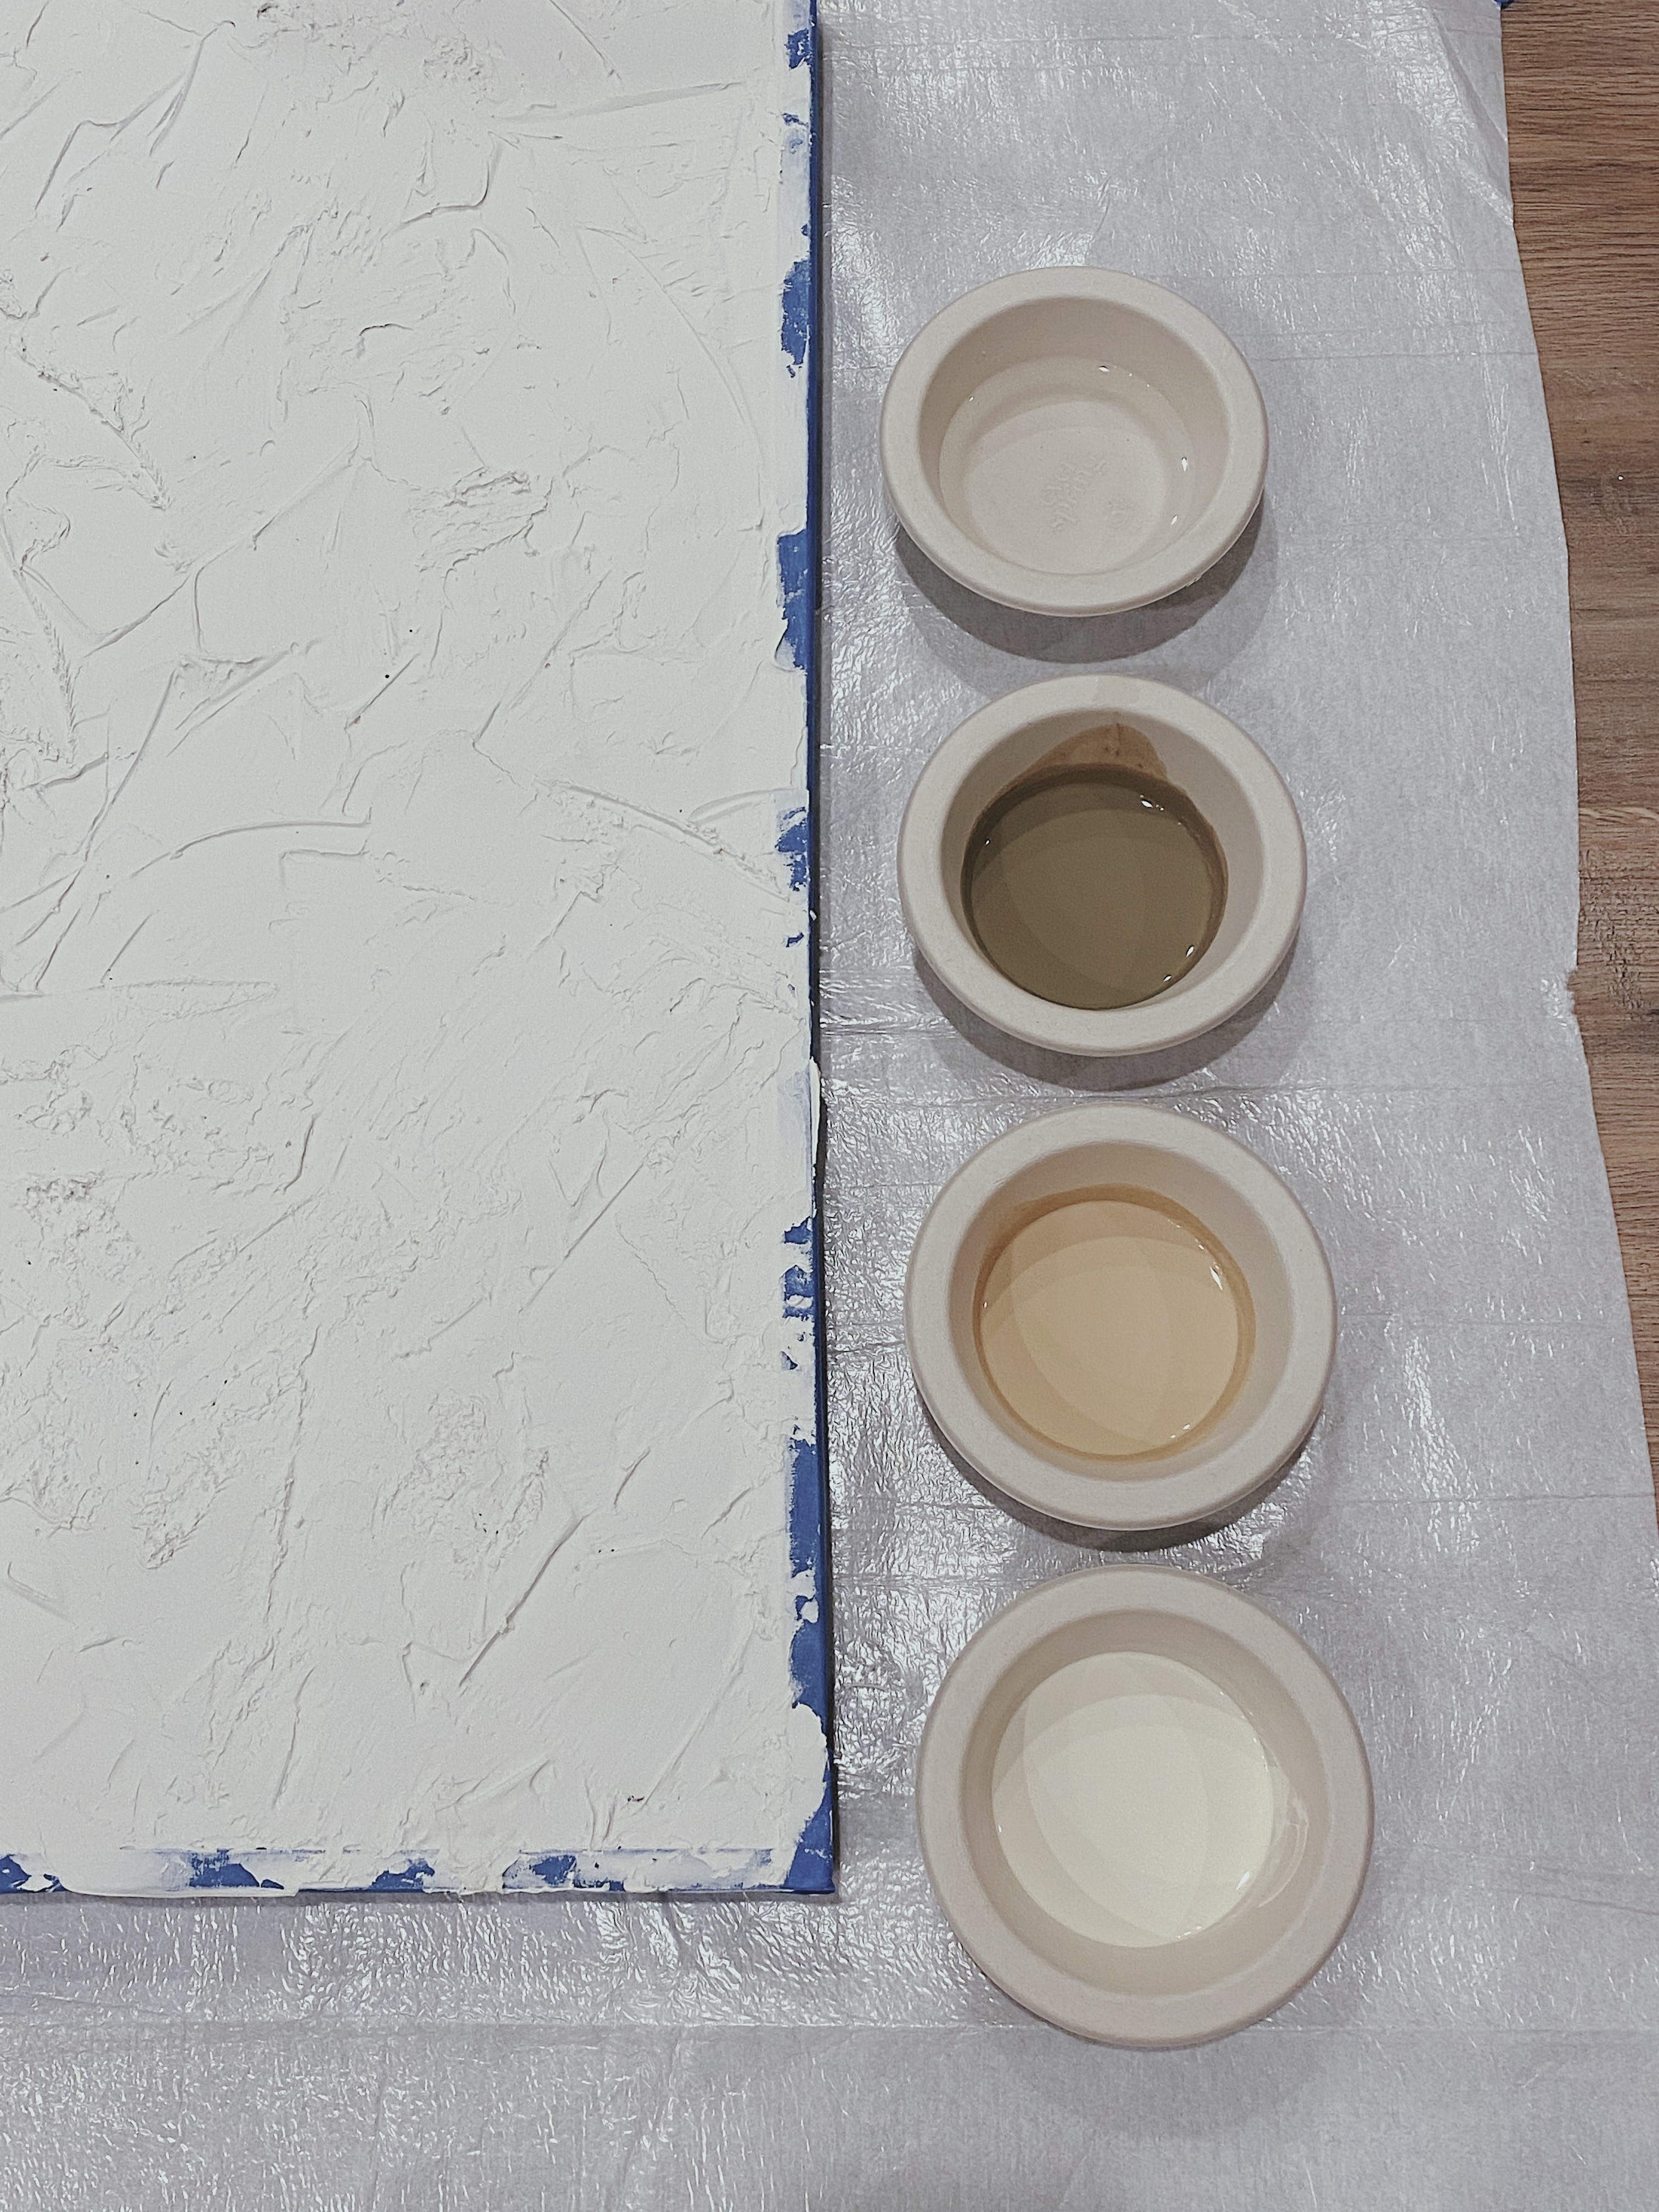
OPTIONAL: Paint and Paint Brushes or Sponges – the spackling paste will be white, so if you’re looking to spruce it up with some color, definitely consider adding paint. We chose a few different colors from Behr at Home Depot and requested sample sizes, which ran us about $4-$5 each. More on adding paint below.
STEP 1
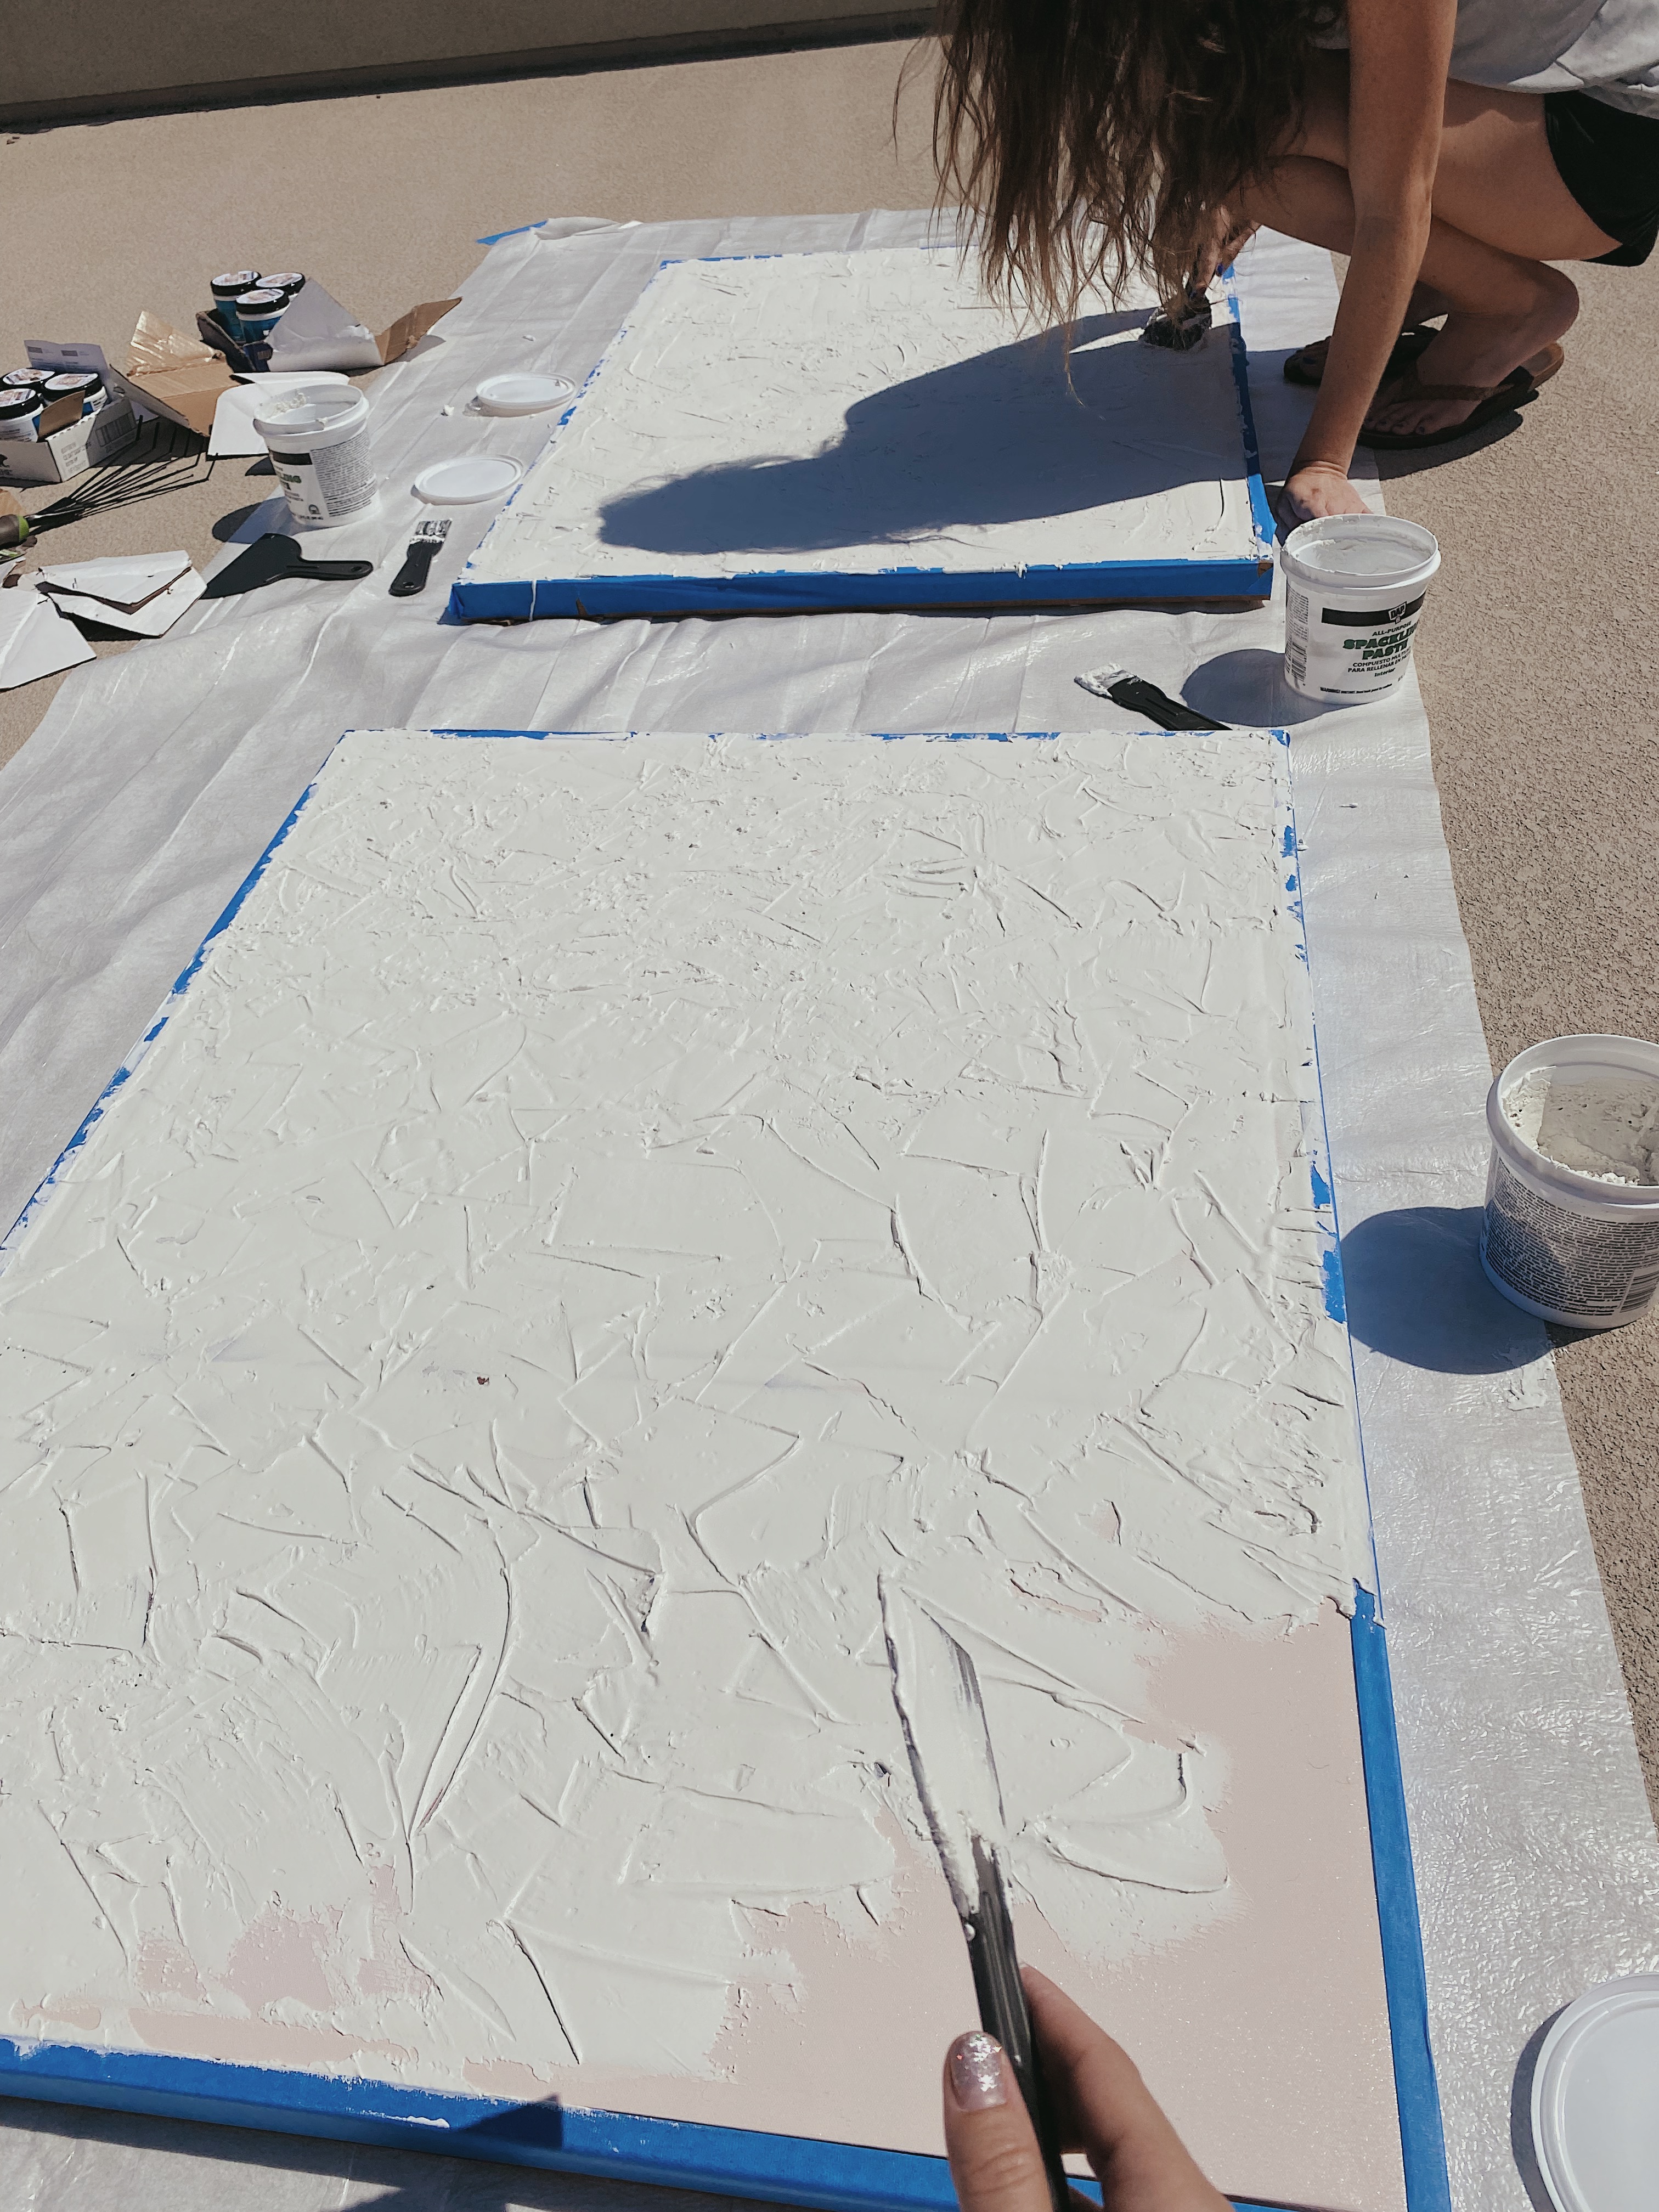
Protect your workspace with a tarp, drop cloth or newspapers. Lay your framed canvas on a flat, even surface and use your painter’s tape to cover the frame tightly to protect it from the plaster.

STEP 2
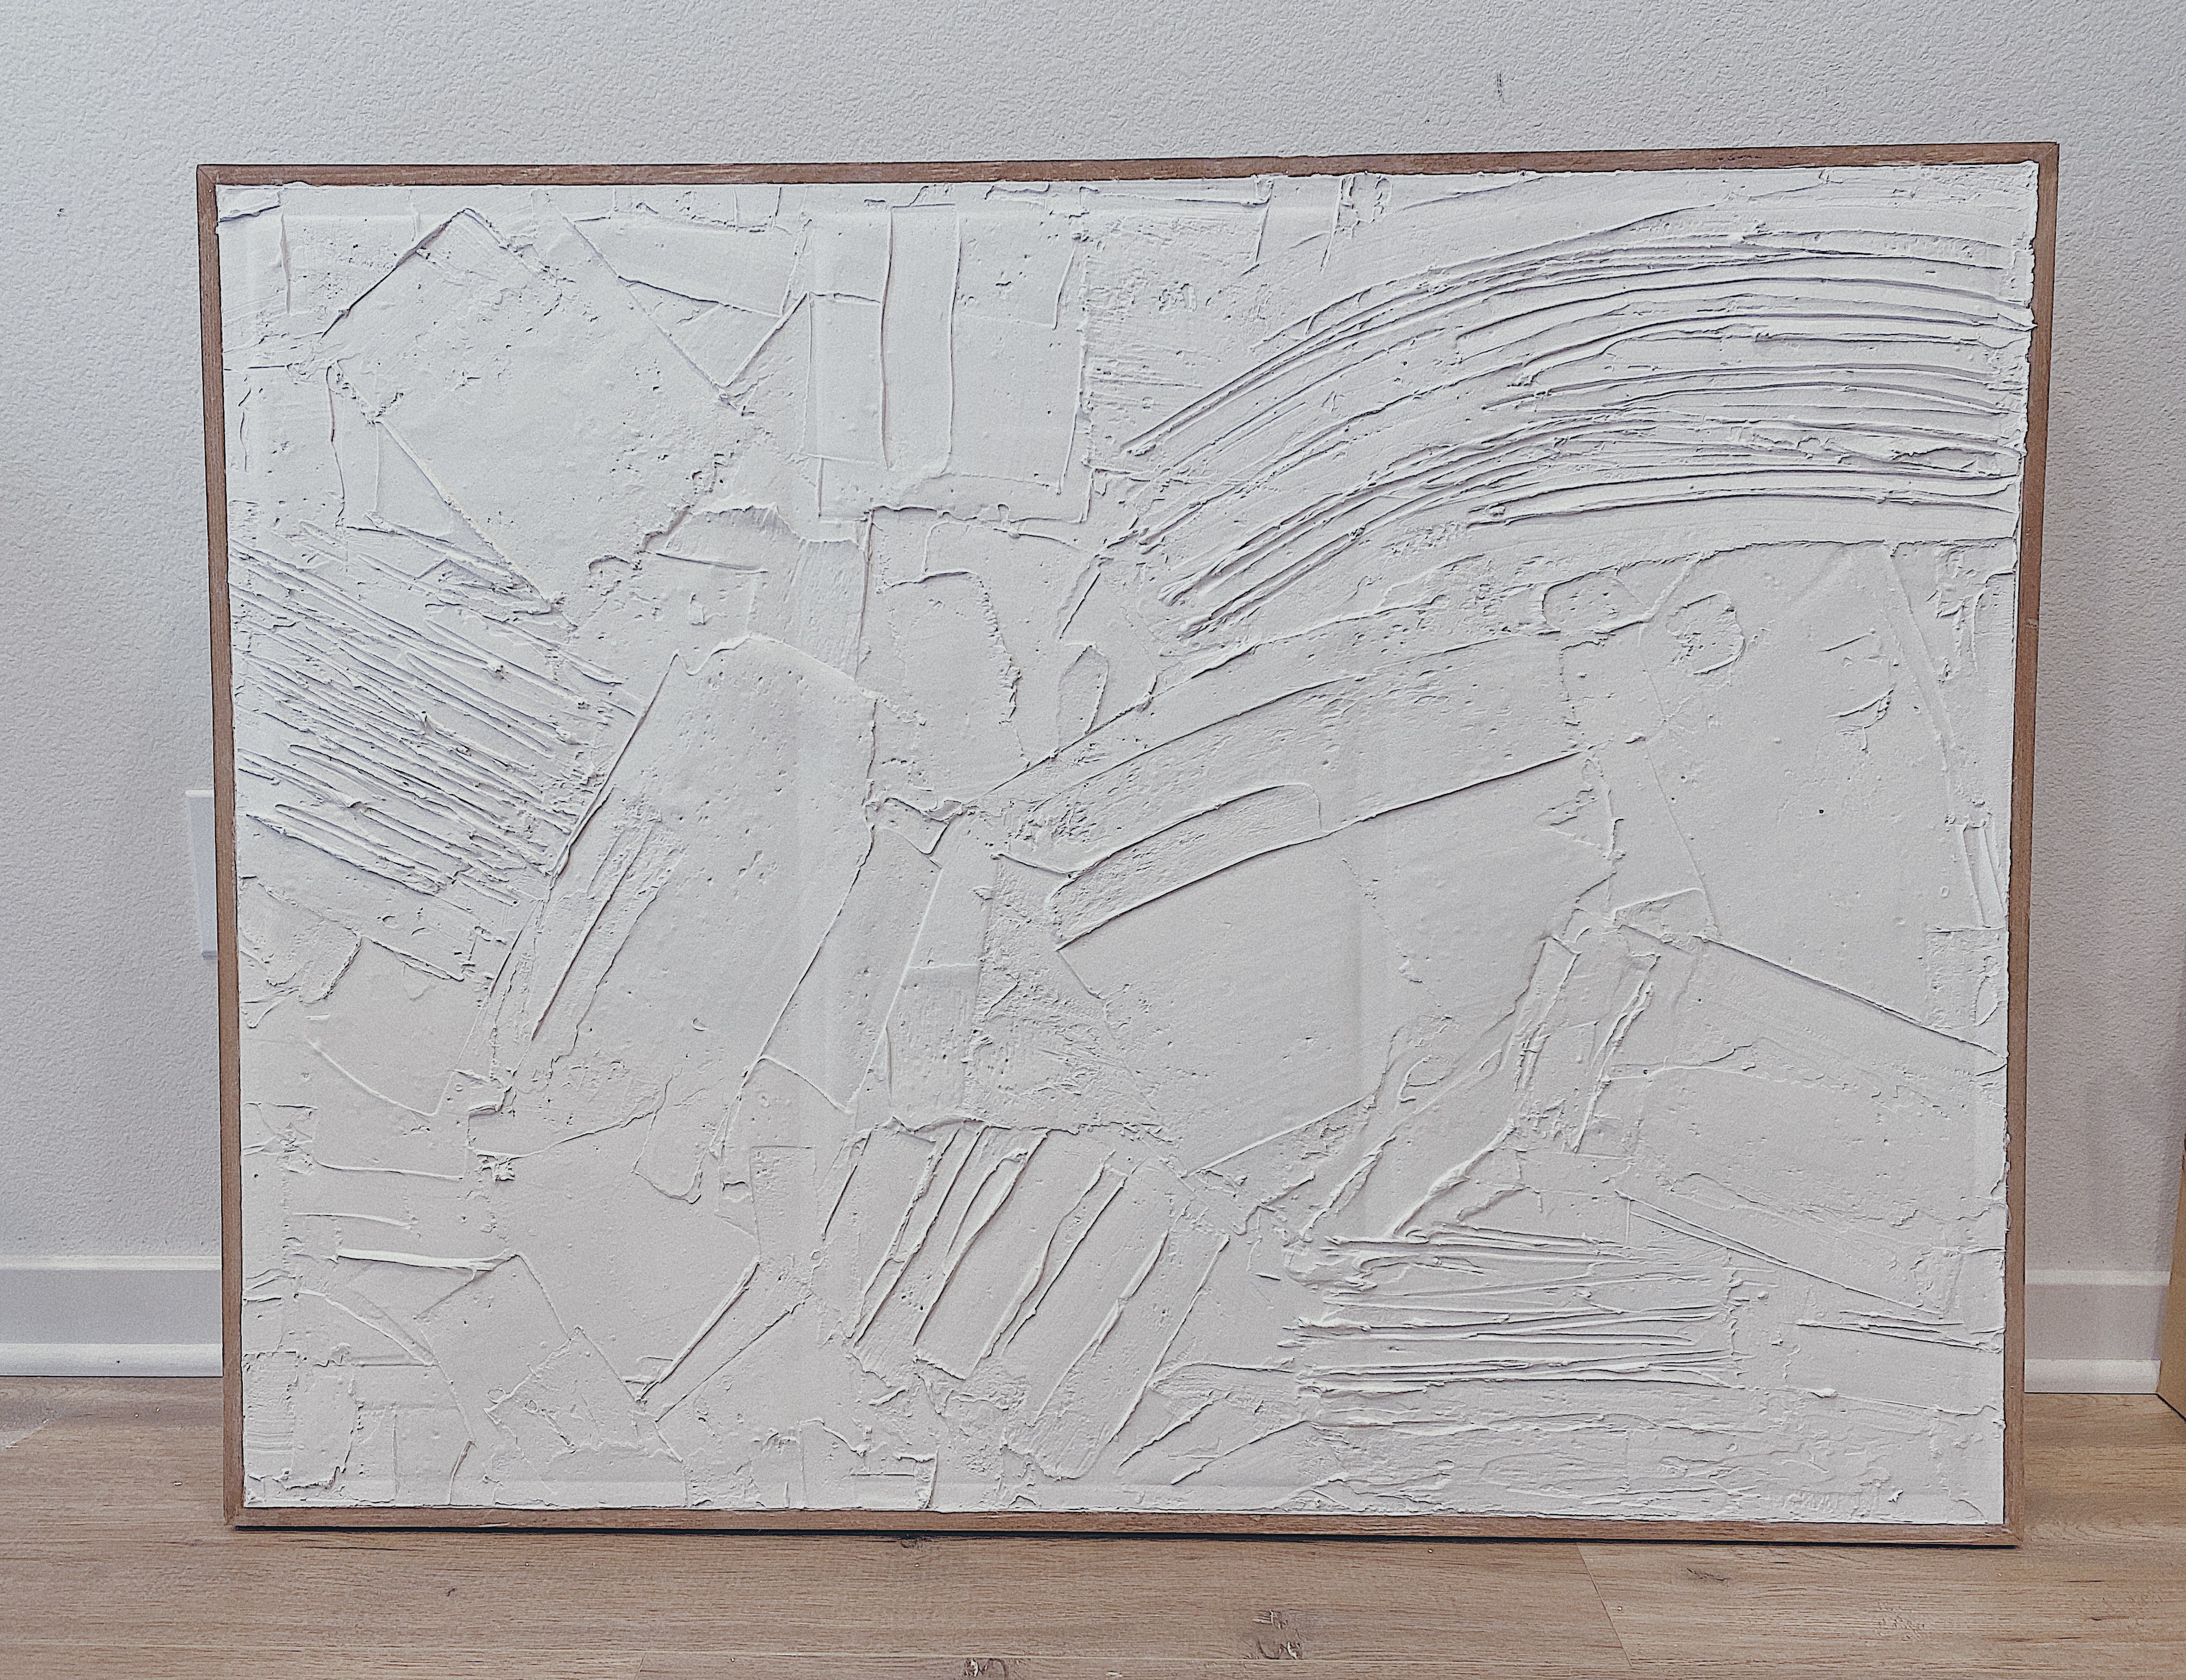
Using your putty knives, begin applying the spackling paste directly onto your canvas. Use the various sizes of putty knives to practice larger or smaller application strokes, or use thicker or thinner scoops of paste to create dimension. It’s important to work a bit quickly here as the paste can dry rather fast, and make sure you’re not applying too thick of a layer otherwise the paste will form air bubbles when drying.

STEP 3
Once you’ve covered the entire canvas, take a step back and survey the lines and angles you’ve created. Maybe you want to add a larger, smoother stroke to one area, or small stippling strokes to another. If you’ve decided to use the hand rake or plastic forks to add texture, make combing motions to add multiple lines to varying sections, or intentional shapes like arches, diagonals, or circles. Play around and do what feels best – you can always correct over it with more plaster or smooth out the sections you aren’t keen on.
STEP 4
If you’ve decided to add paint, wait until your canvas is completely dry to do so. I didn’t have much luck at all with this step. In fact, it’s what led me to completely scraping off my first attempt at this project and completely starting over, as mentioned previously. However, my friend’s paint came out beautifully; she watered down her paint and used a wet sponge to apply the paint for a soft, watercolor effect. She blended the paint constantly until it added the color and finish that she liked. We also tried combining the paint into the spackling paste, however note that it will significantly lighten your paint color and affect the viscosity of the paste itself. If you like bold color, you may consider painting directly on top of the dried spackling paste with a paint brush. Again, do whatever feels right to you here.
STEP 5
Once you’re satisfied with your work and the spackling paste and/or paint has completely dried, remove the tape from the frame and enjoy your masterpiece!
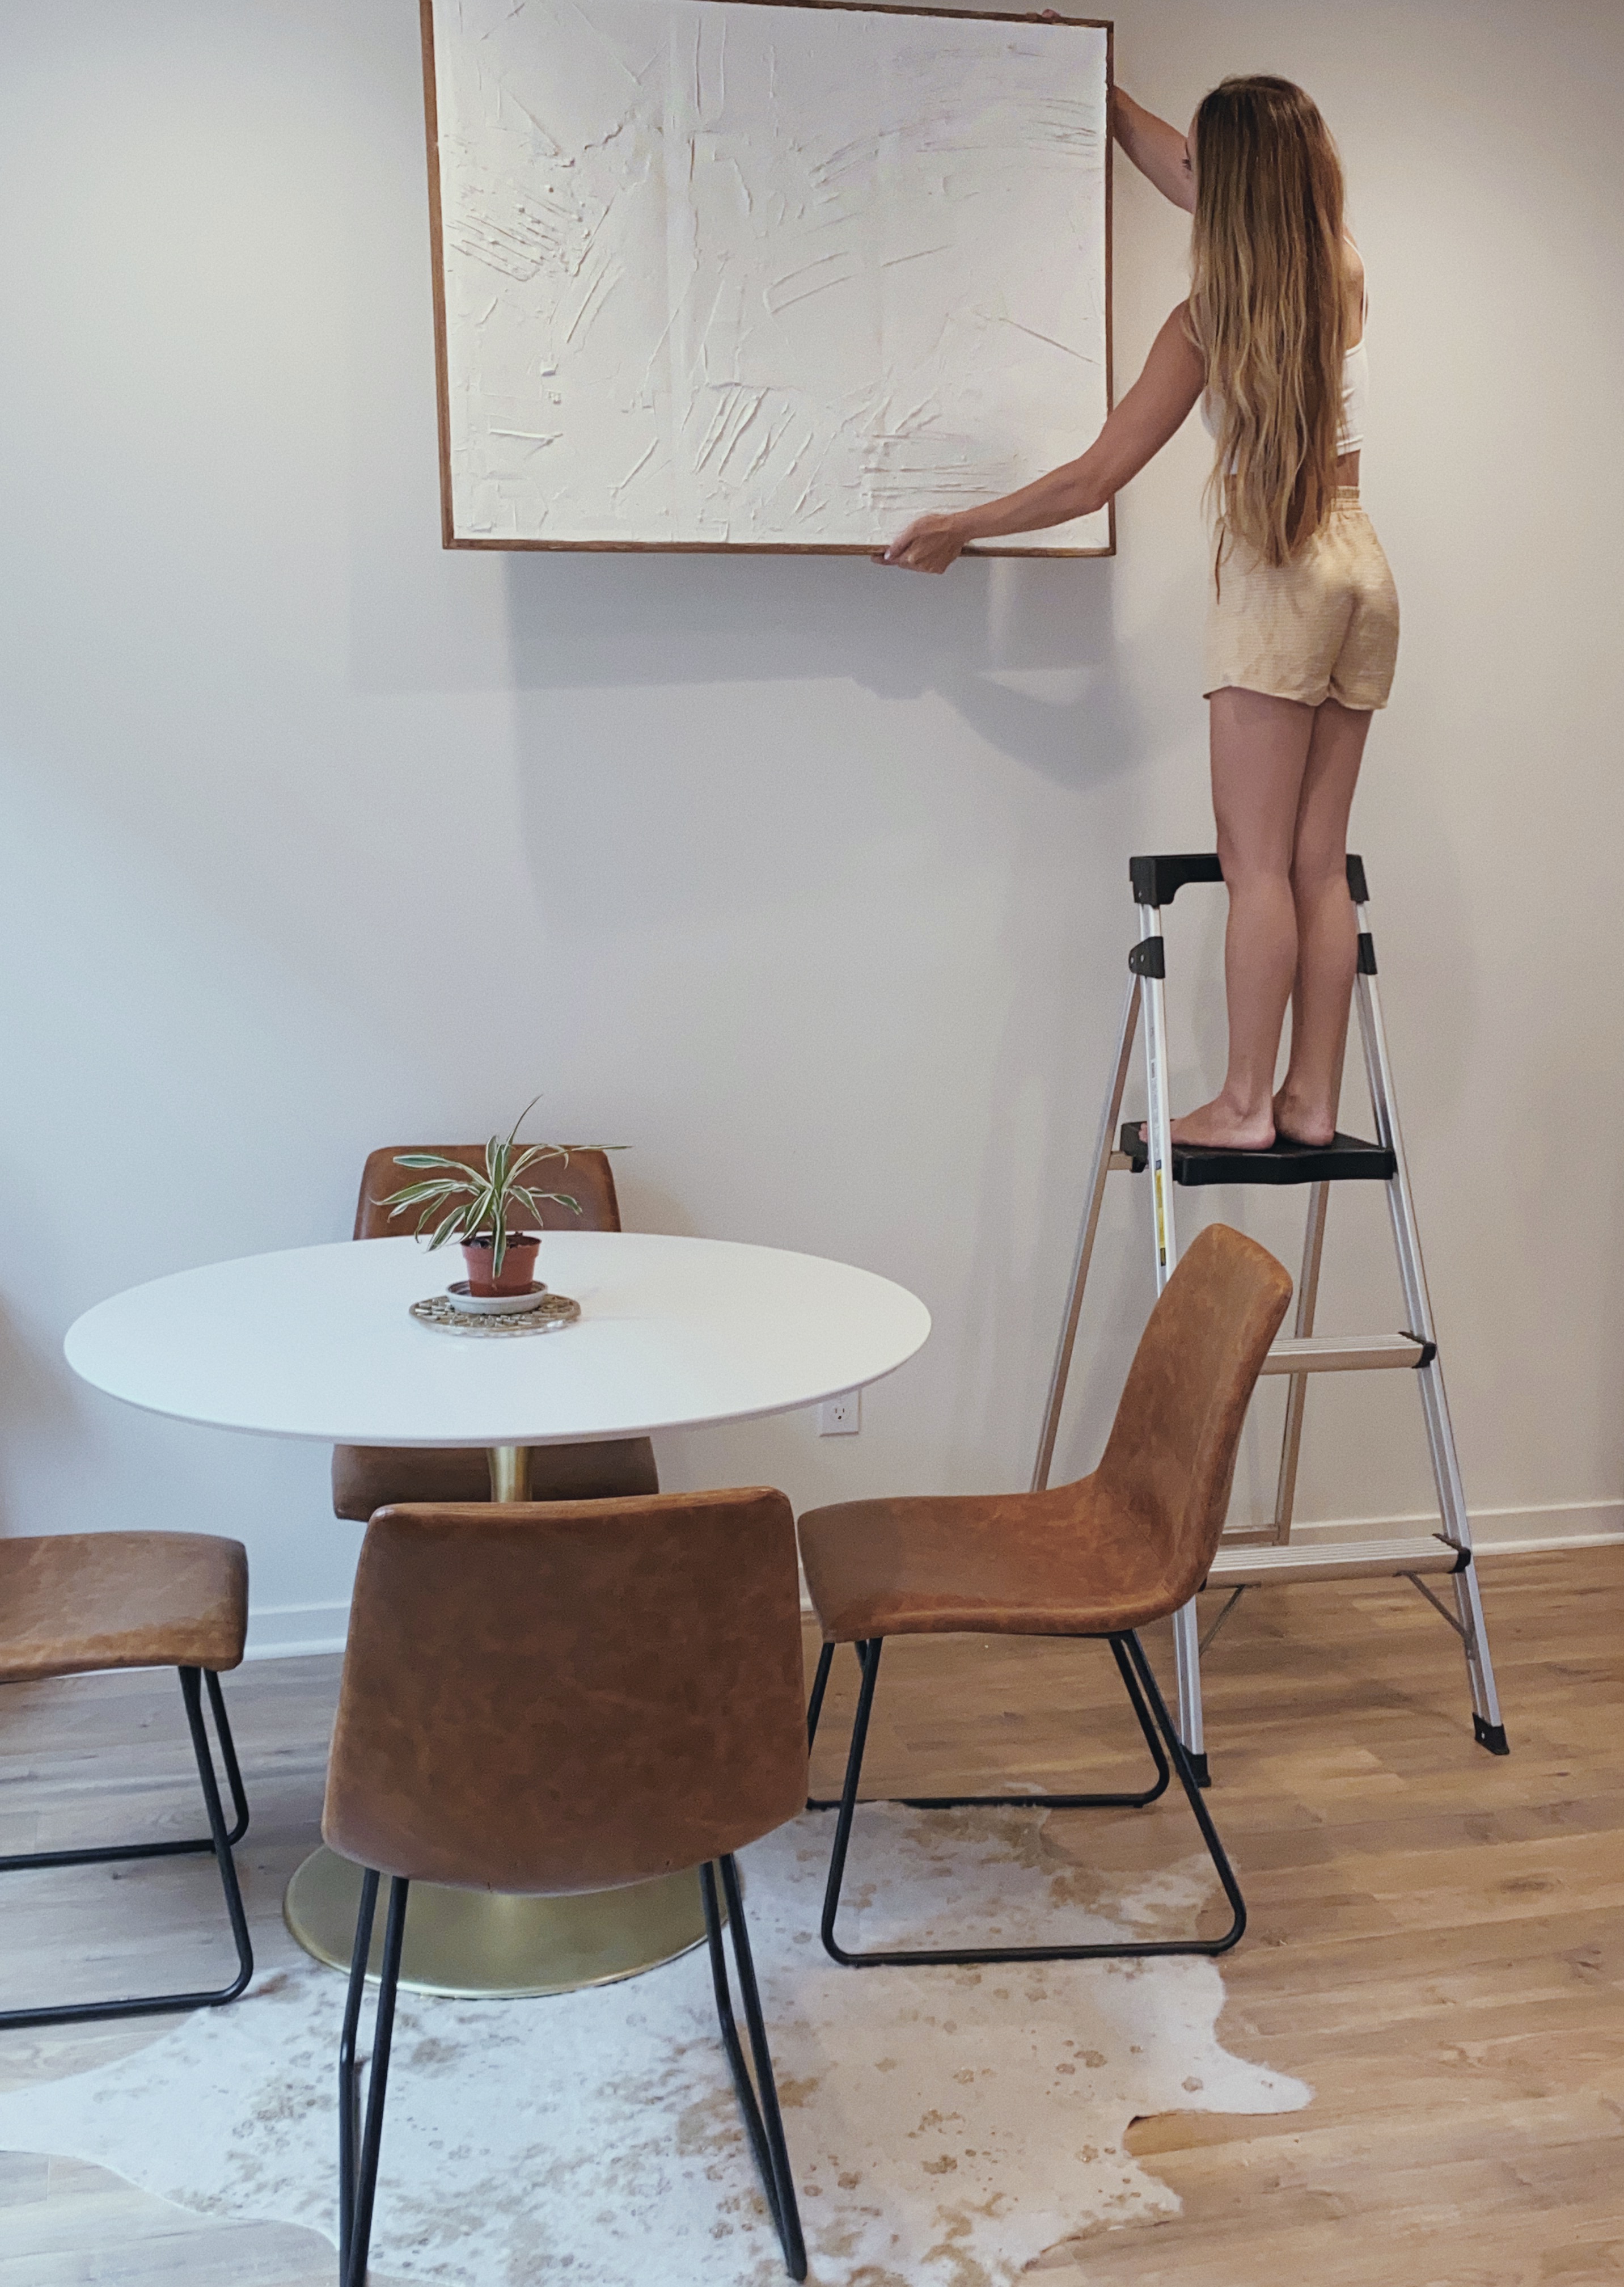
Overall, the actual project is pretty quick and very, very easy – it only took us about 20-30 minutes to cover the entire canvas, and any adjustments made after that were purely driven by the desire to add more creative touches to the piece. Let me know if you try out this project – I’d love to see your art!
xx K