
I think it’s safe to say that most of us here are in one of the following stages: have been living on your own/with a significant other for several years, recently started living on your own/with a significant other, recently bought a house or are currently saving up to buy a house. Either way, we’re at that age where we’re starting to refine our style, upgrade where possible, and start phasing out that mish-mash of décor we’ve been collecting for the past 5-10 years. We all have it – the lingering IKEA side table from college (I know at least two of you own that budget-friendly LACK table – myself included), mom and dad’s hand-me-down couches or bed frame, those random pieces of artwork and decorative objects that you picked up here and there that you “might want to use again”. Maybe you changed your style over the years from simple and sleek to modern farmhouse or industrial chic. Either way, transitioning out of whatever interior style you have into what you aspire to be can be daunting and downright expensive. And if you’re anything like me, you want it done and you want it done now. So how do you get there without spending a fortune and completely throwing out what you currently have? Keep reading.
First things first – and something I think is important to mention: understand that your interior décor will never be finished, and accept that. As humans, we’re constantly evolving and our style is part of that. Accept where you are, and focus on where you want to be without stressing over it. Your décor is for you only, and not to impress others – do it for you, when you can. It’s easy to get caught up in “defining yourself” to the point of frustration, and I’ve been there. Accept interior decorating as a continuous, ever-evolving form of self-expression, much like the clothes in your closet. Trust me, this simple mental thought will save you on this decorating journey. Okay, now we’re ready to move on. Here’s what to do next:
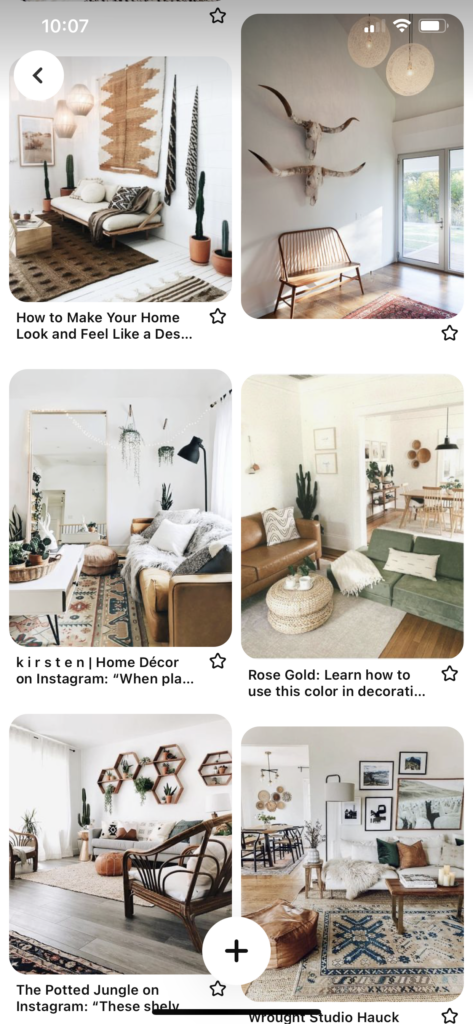
1. Get Inspired
My favorite thing to do before I even traipse into a home decor store is to gather inspiration images. Focus on the bigger picture – entire rooms, different spaces in various homes, maybe even retail spaces or hotels that you love. Gather as many images that you can find and put them together into something visual – a Pinterest board, photo album on your phone, whatever. You’ll start to notice a pattern in the color palette of the images you select, the textures that pop up often, and the lines of the furniture in each space.
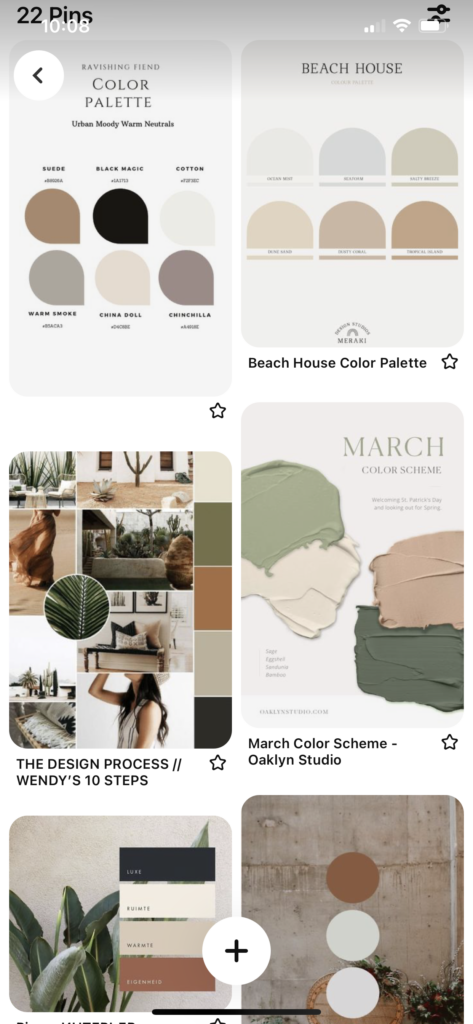
2. Identify Your Color Palette
After you’ve gathered your inspiration, start narrowing down your main color palette. Which colors popped up most in your inspiration board, or which colors make you feel most at ease? Maybe you love whites and beige, blues and grays, or even orange and cream. Keep in mind that your home is your zen space and should provide you with feelings of comfort and relaxation. To further define your palette, you might try selecting an accent color – if you love white and beige, maybe add a splash of earthy green or dusty blue. Accent colors warm up the space and add interest to a monotonous color palette. Oh, and don’t let these colors completely define you, but rather use them as a guide towards defining your overall style and allowing your home to flow cohesively in some manner.
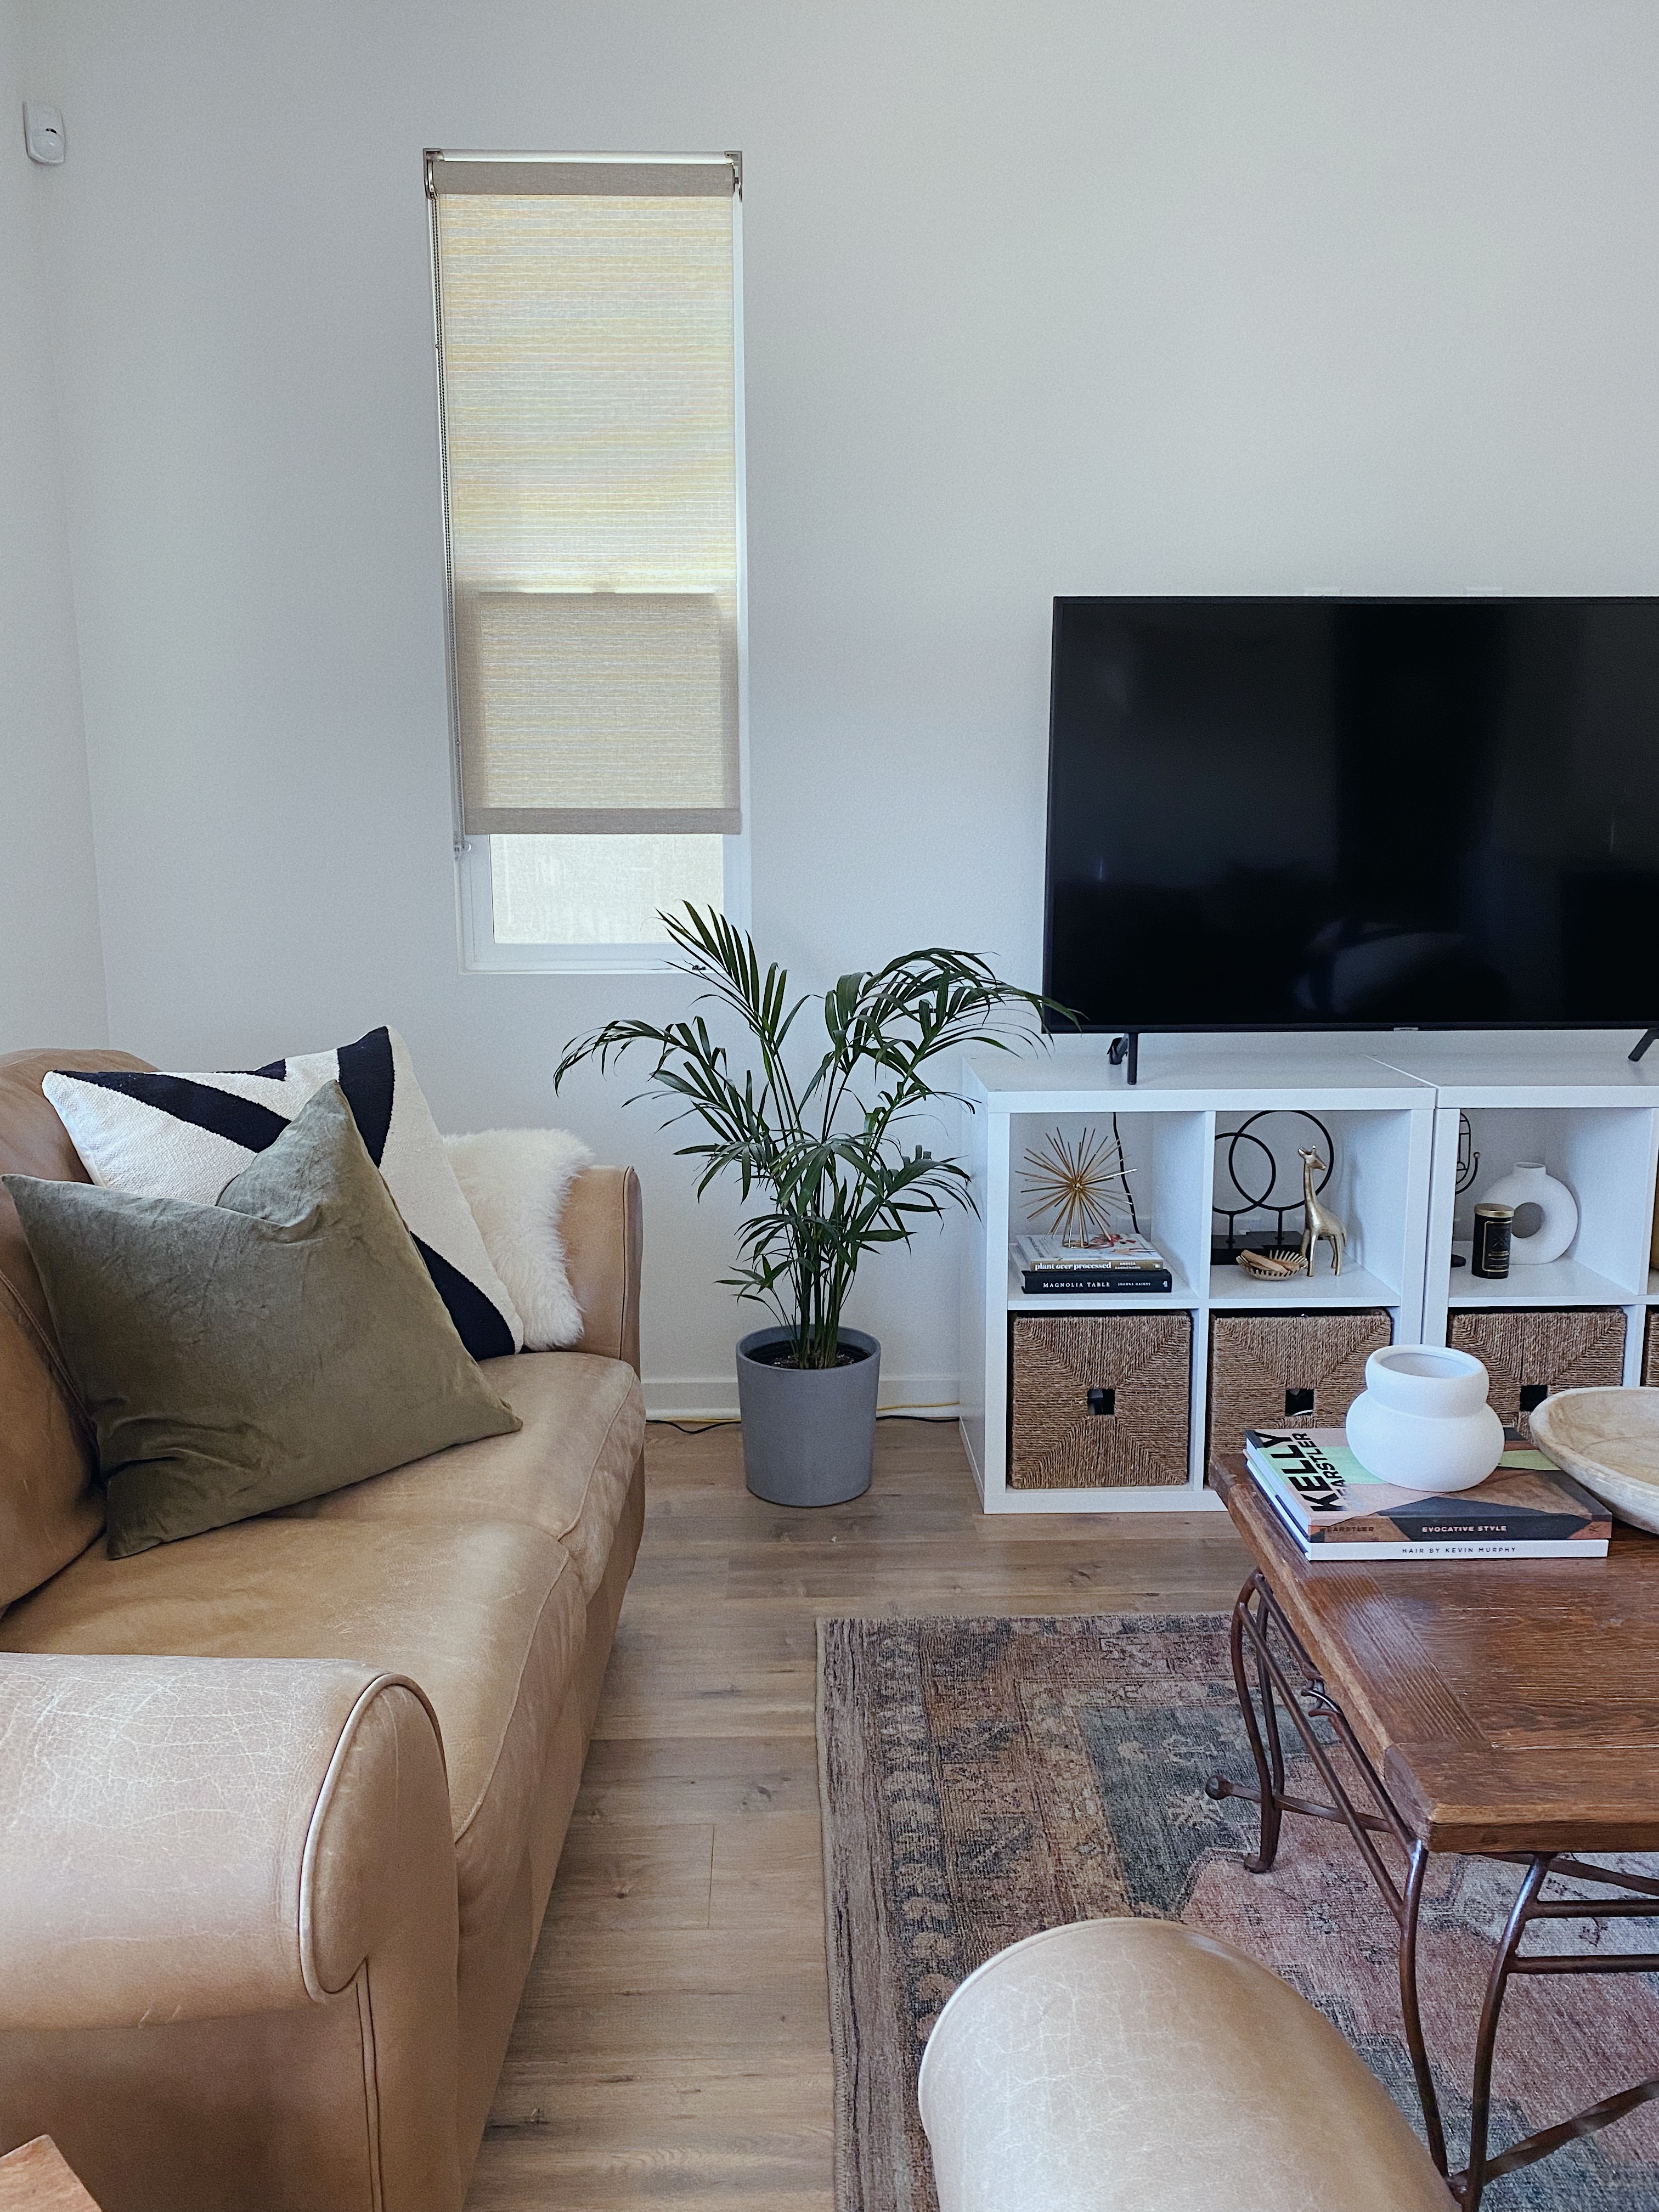
3. Create Dimension Through Texture
This is my favorite part… when you’re done selecting your colors, start adding dimension to your space by picking accent metals and textures – is it irons or golds, fur or jute, or even reclaimed wood? Textures add tangibility to color, so it’s important not to forget about this step! If you’re lost and don’t even know where to start, get to a store and literally pick things up or run your hand over various surfaces – metal decorations, ceramic bowls, stone countertops, and even textiles. It sounds silly, but this will help you understand how they make you feel in an everyday interior setting. The great thing is, textural items go with a variety of color palettes, so you can’t really go wrong.

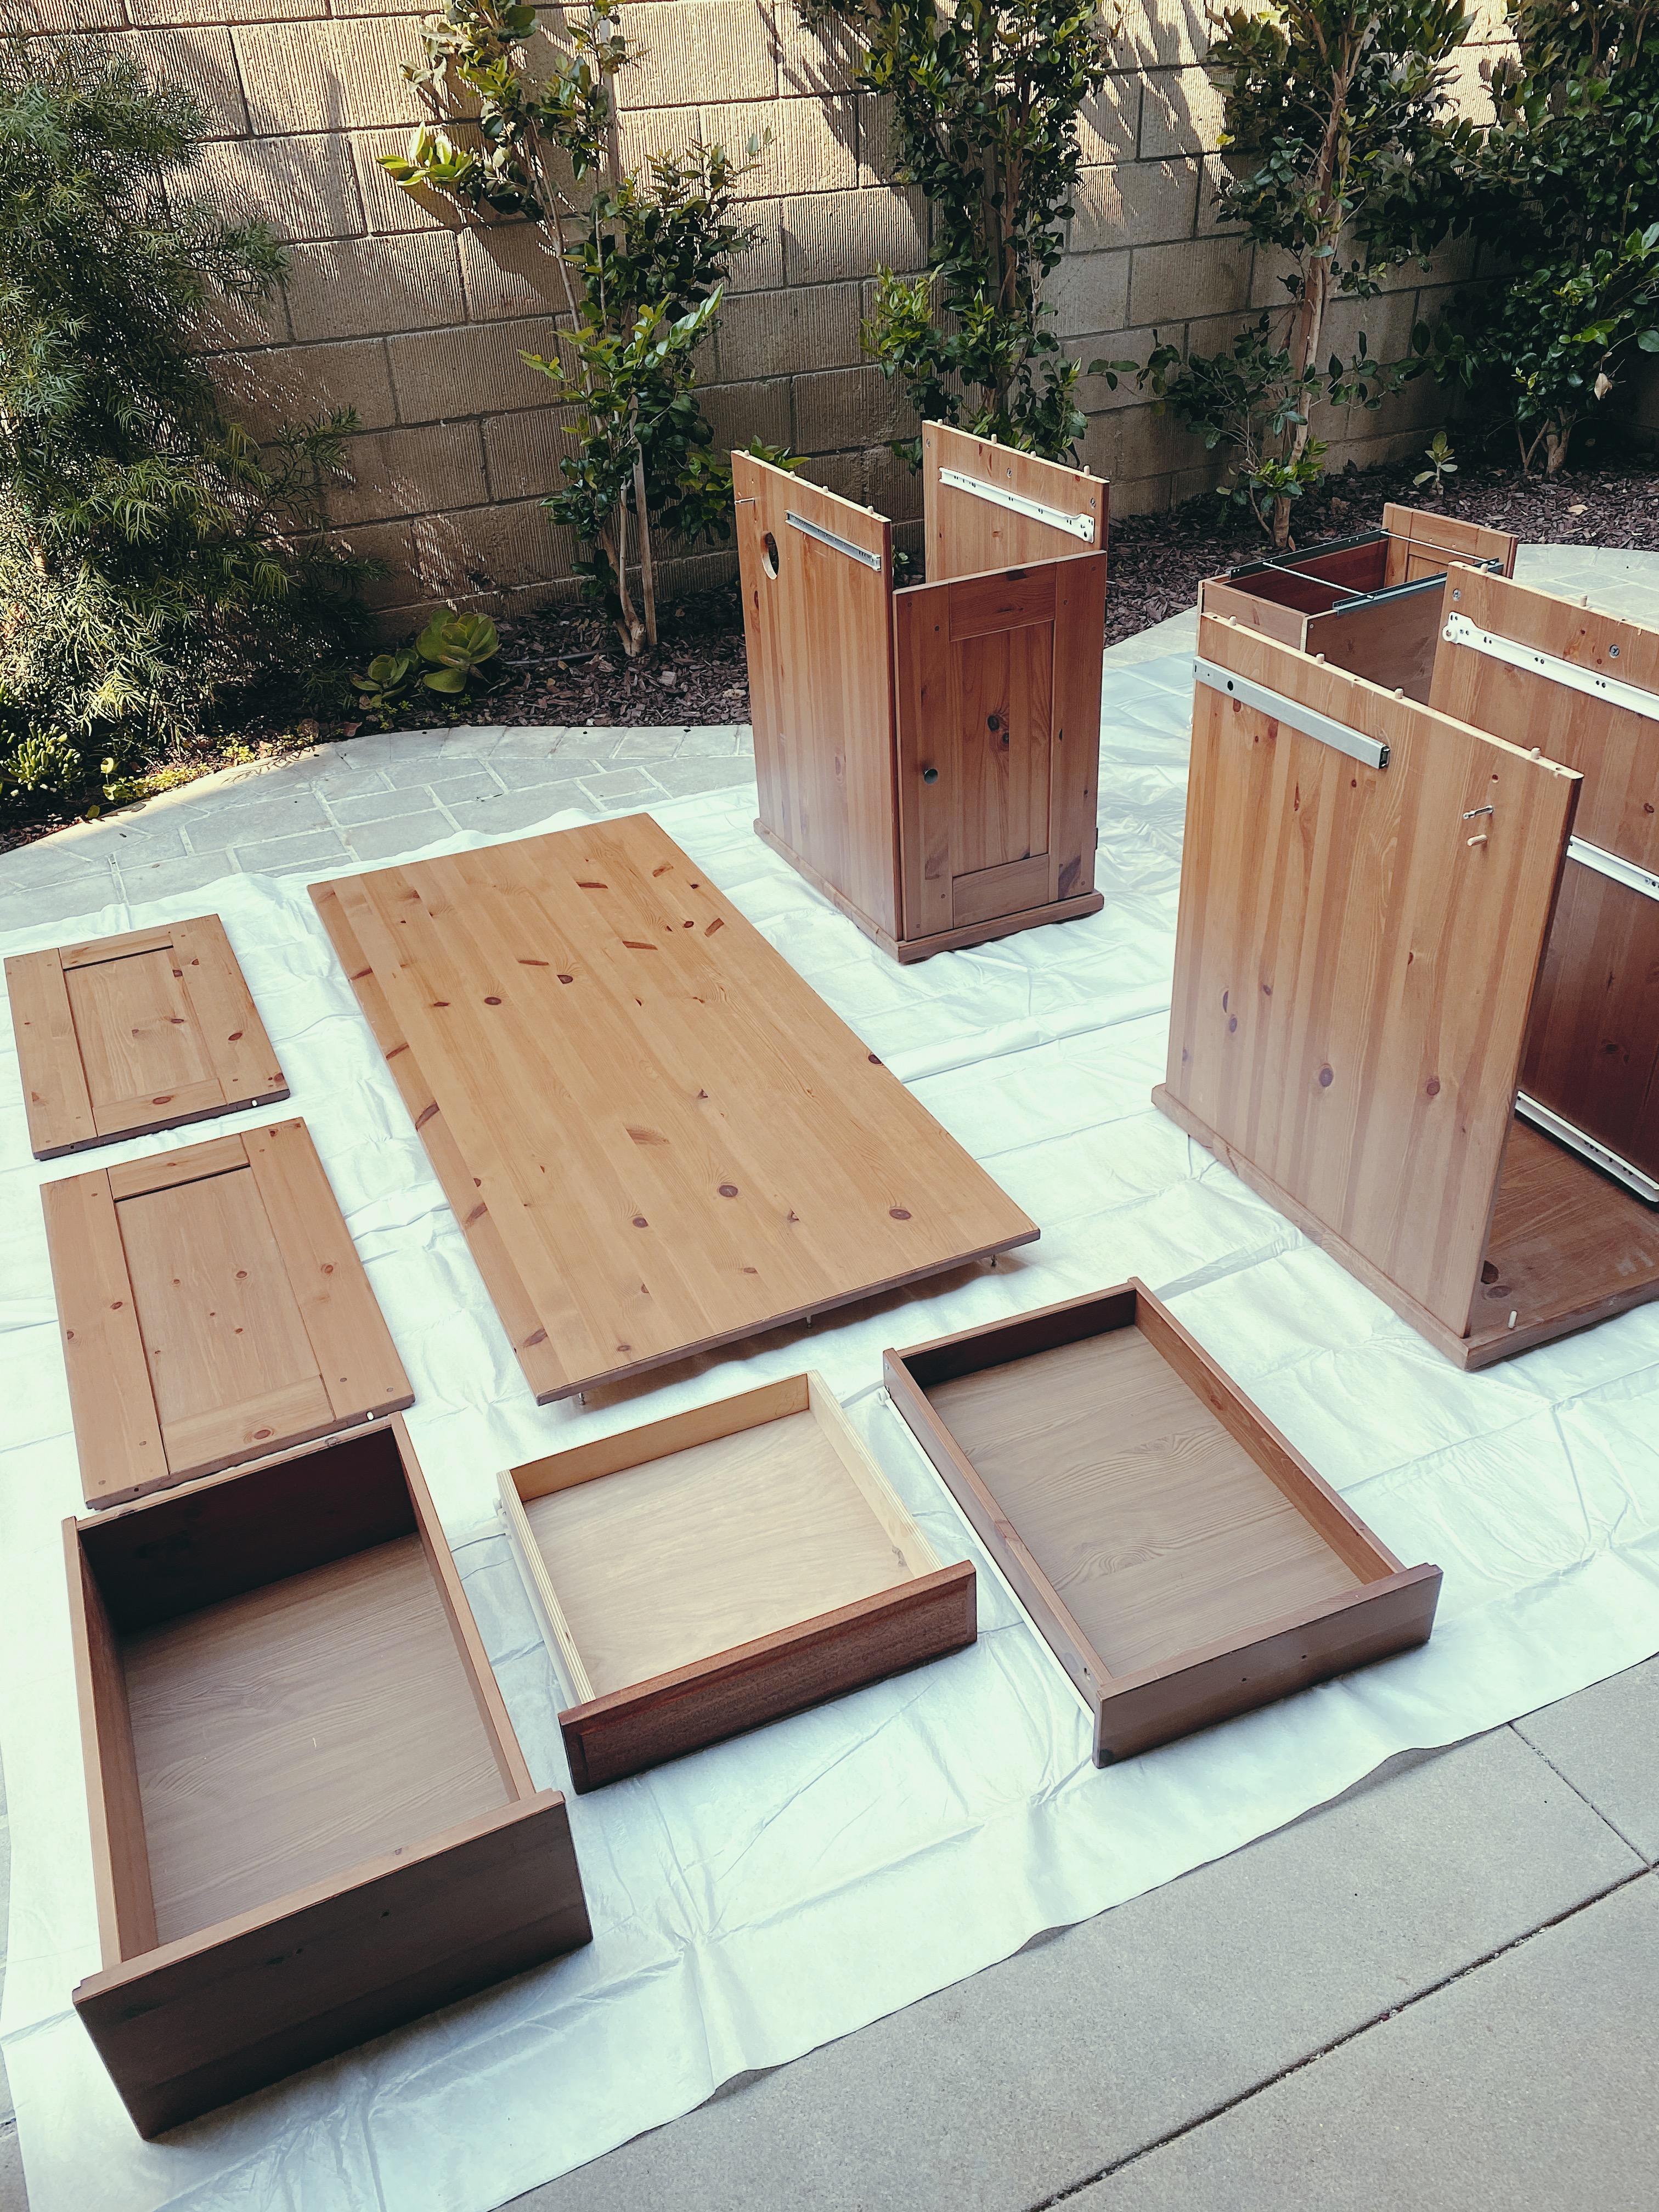
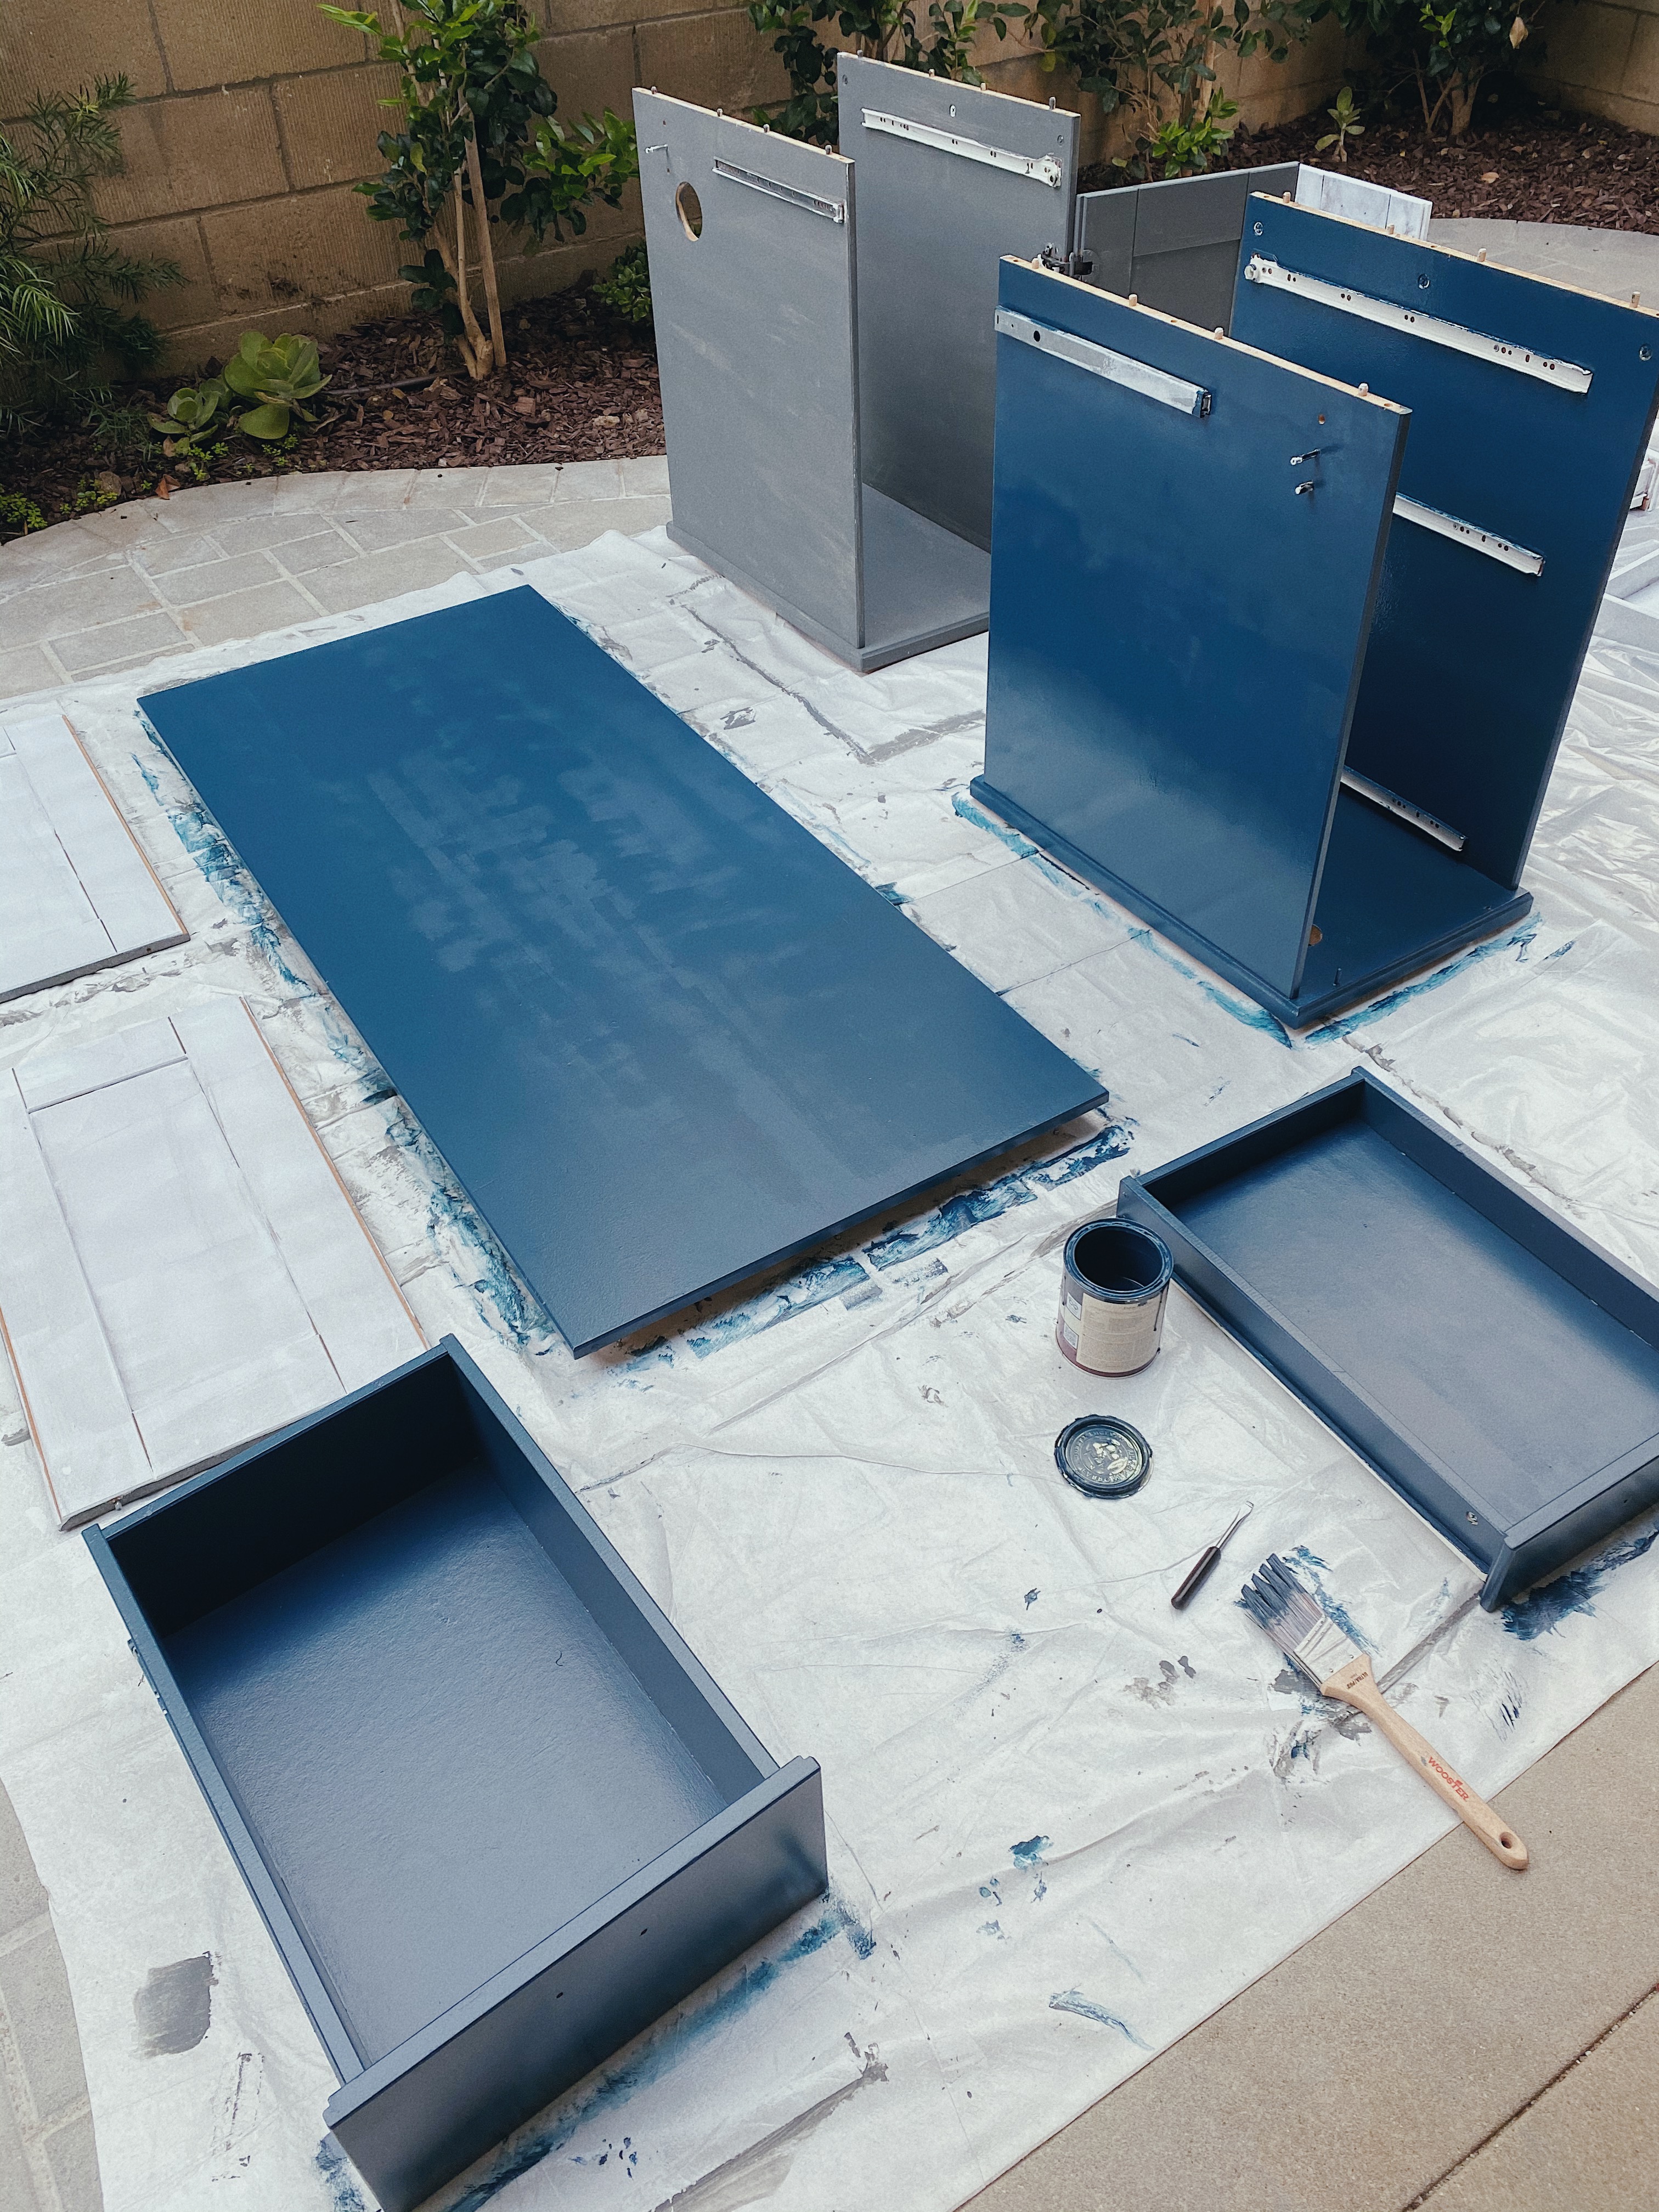
4. Enhance, Eliminate, Elevate
So how does this all tie in with what you currently have in your home, and how do you even start to transition? Take a look around at your current décor. What colors do you see? What textures pop out at you? Are there any overlaps with the style you defined in steps 1-3? Simplify each piece of furniture down to its core. What can be re-purposed, re-finished, and re-used? When Ryan and I were putting together our office, I felt inspired by photos of vintage men’s libraries and wanted to put my personal spin on it. I wanted a mix of medium and dark blues enhanced by dark oak and walnut, and elevated with iron and bronze. What did we start with? One large and clunky cherry-colored IKEA desk. Ouch. In lieu of completely buying new furniture, I decided to paint the desk a medium blue and change the hardware to a modern, bronze-gold finish.
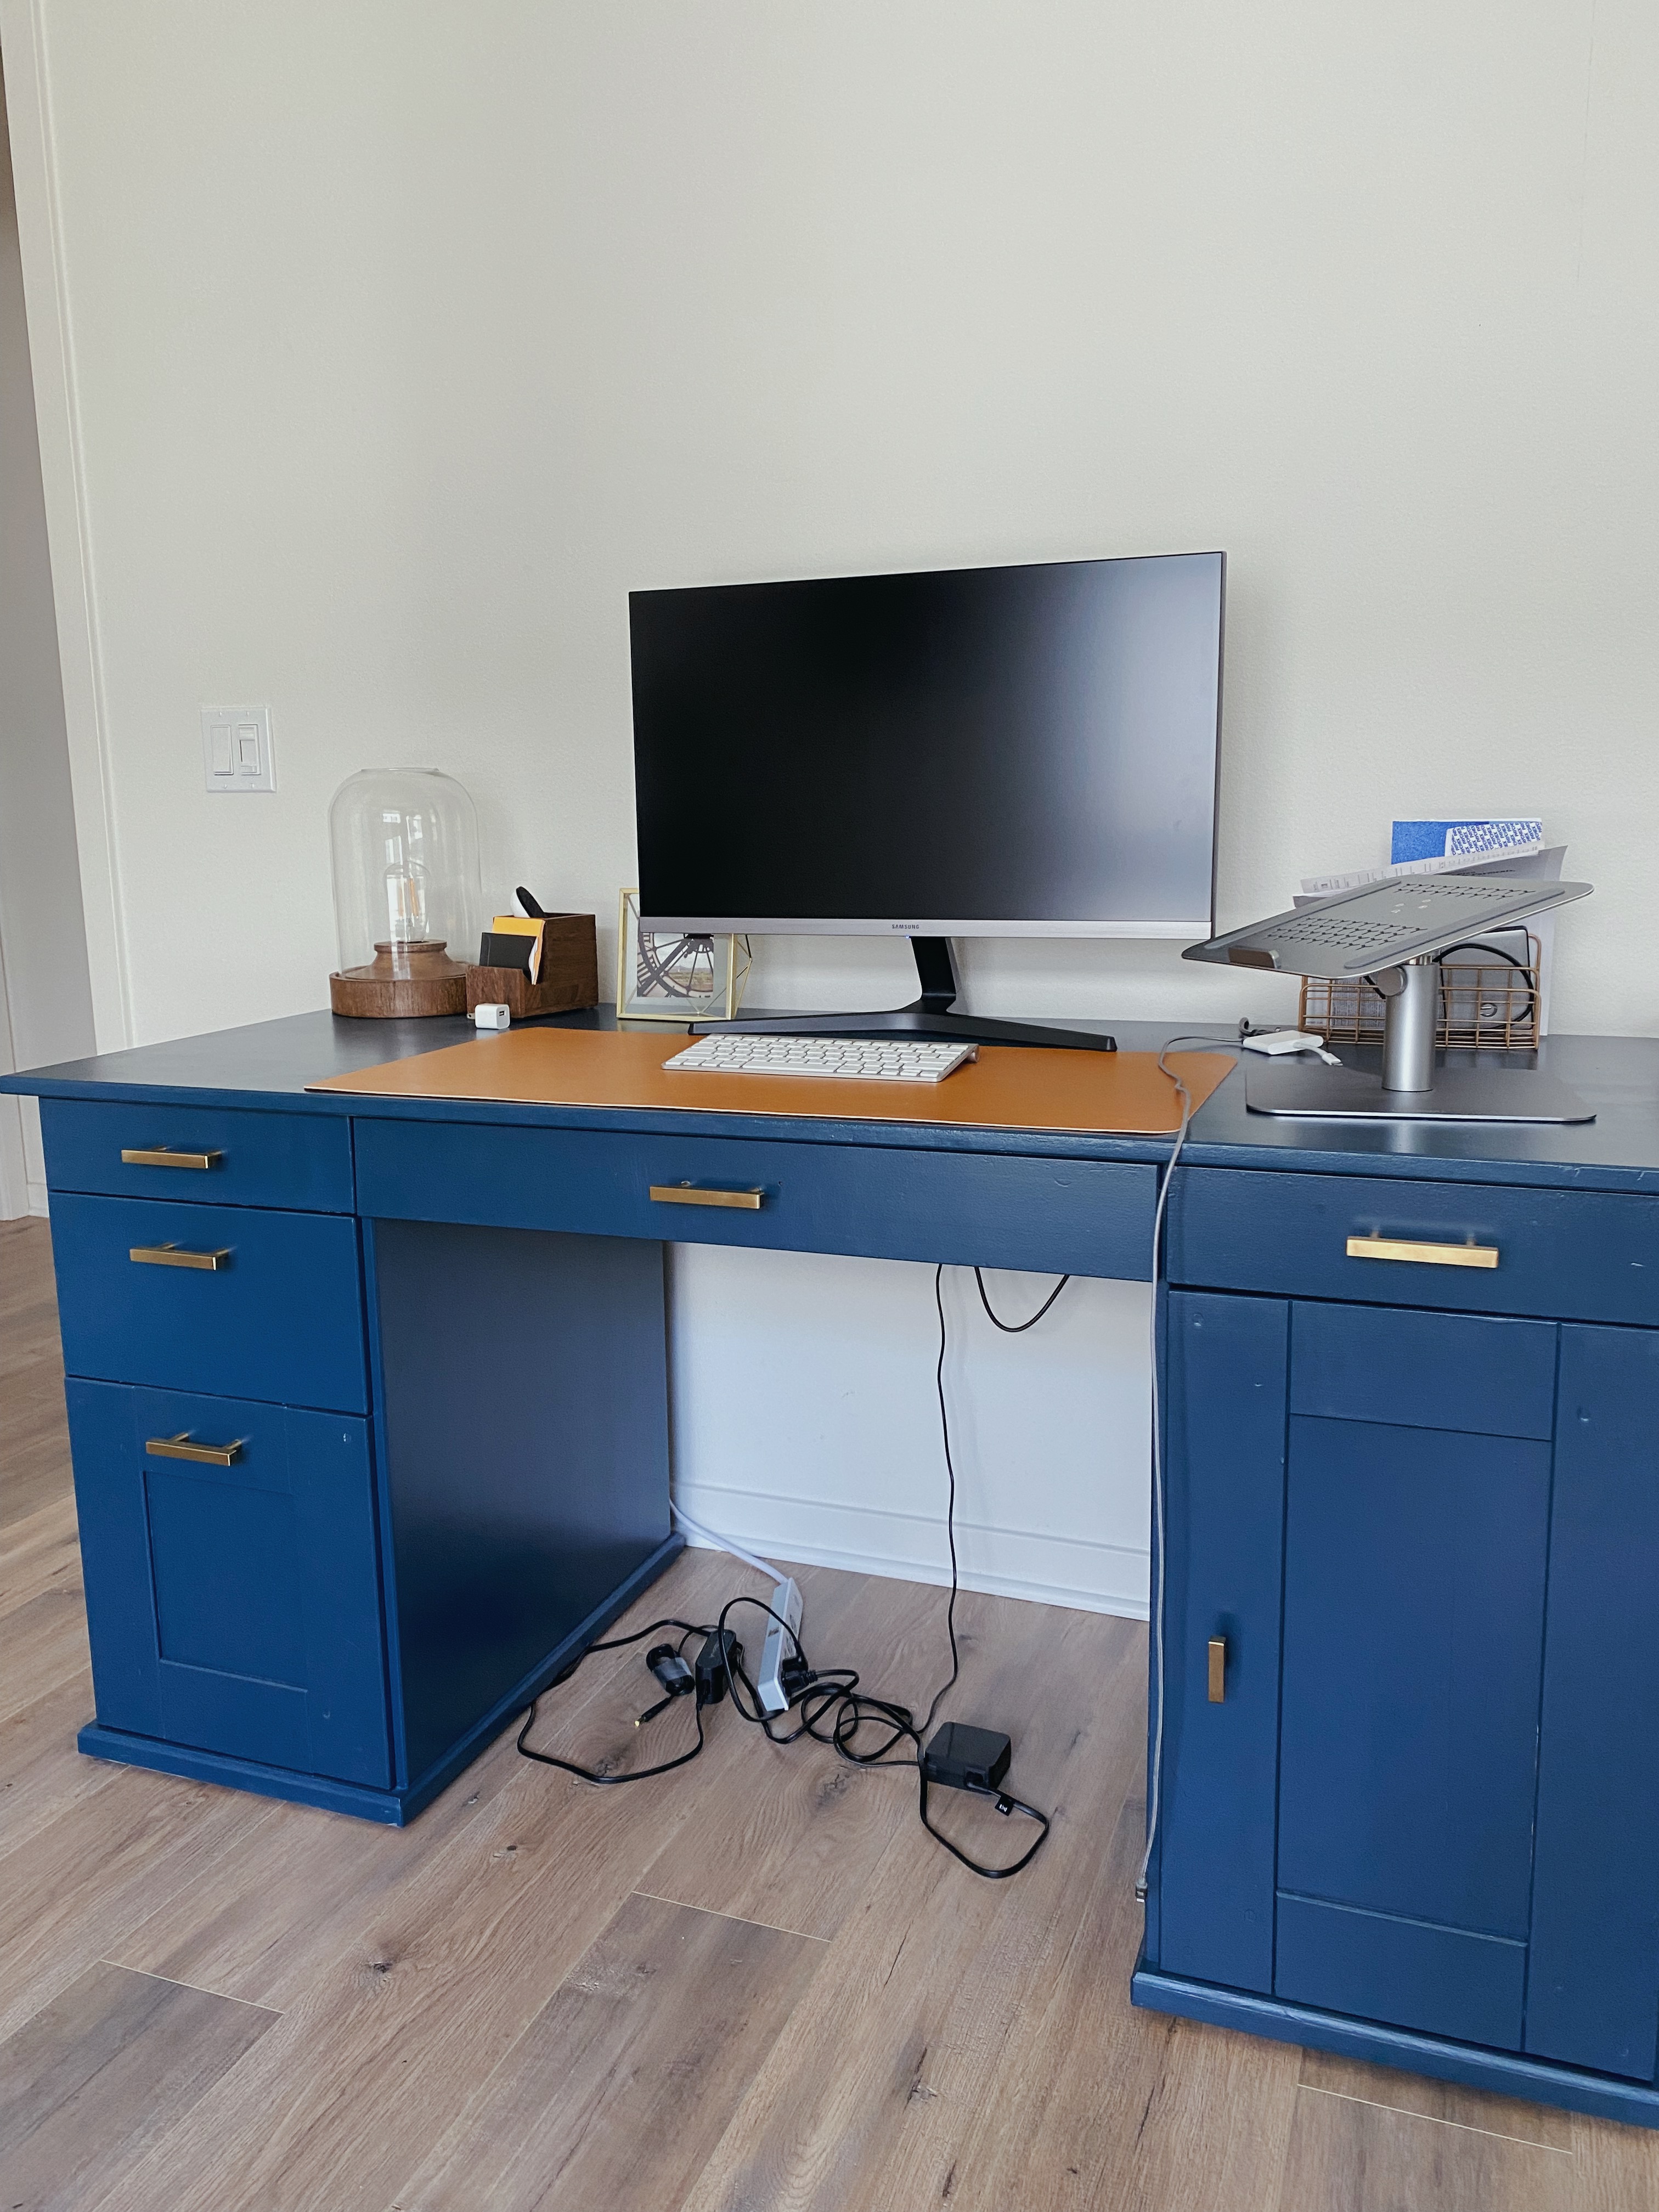
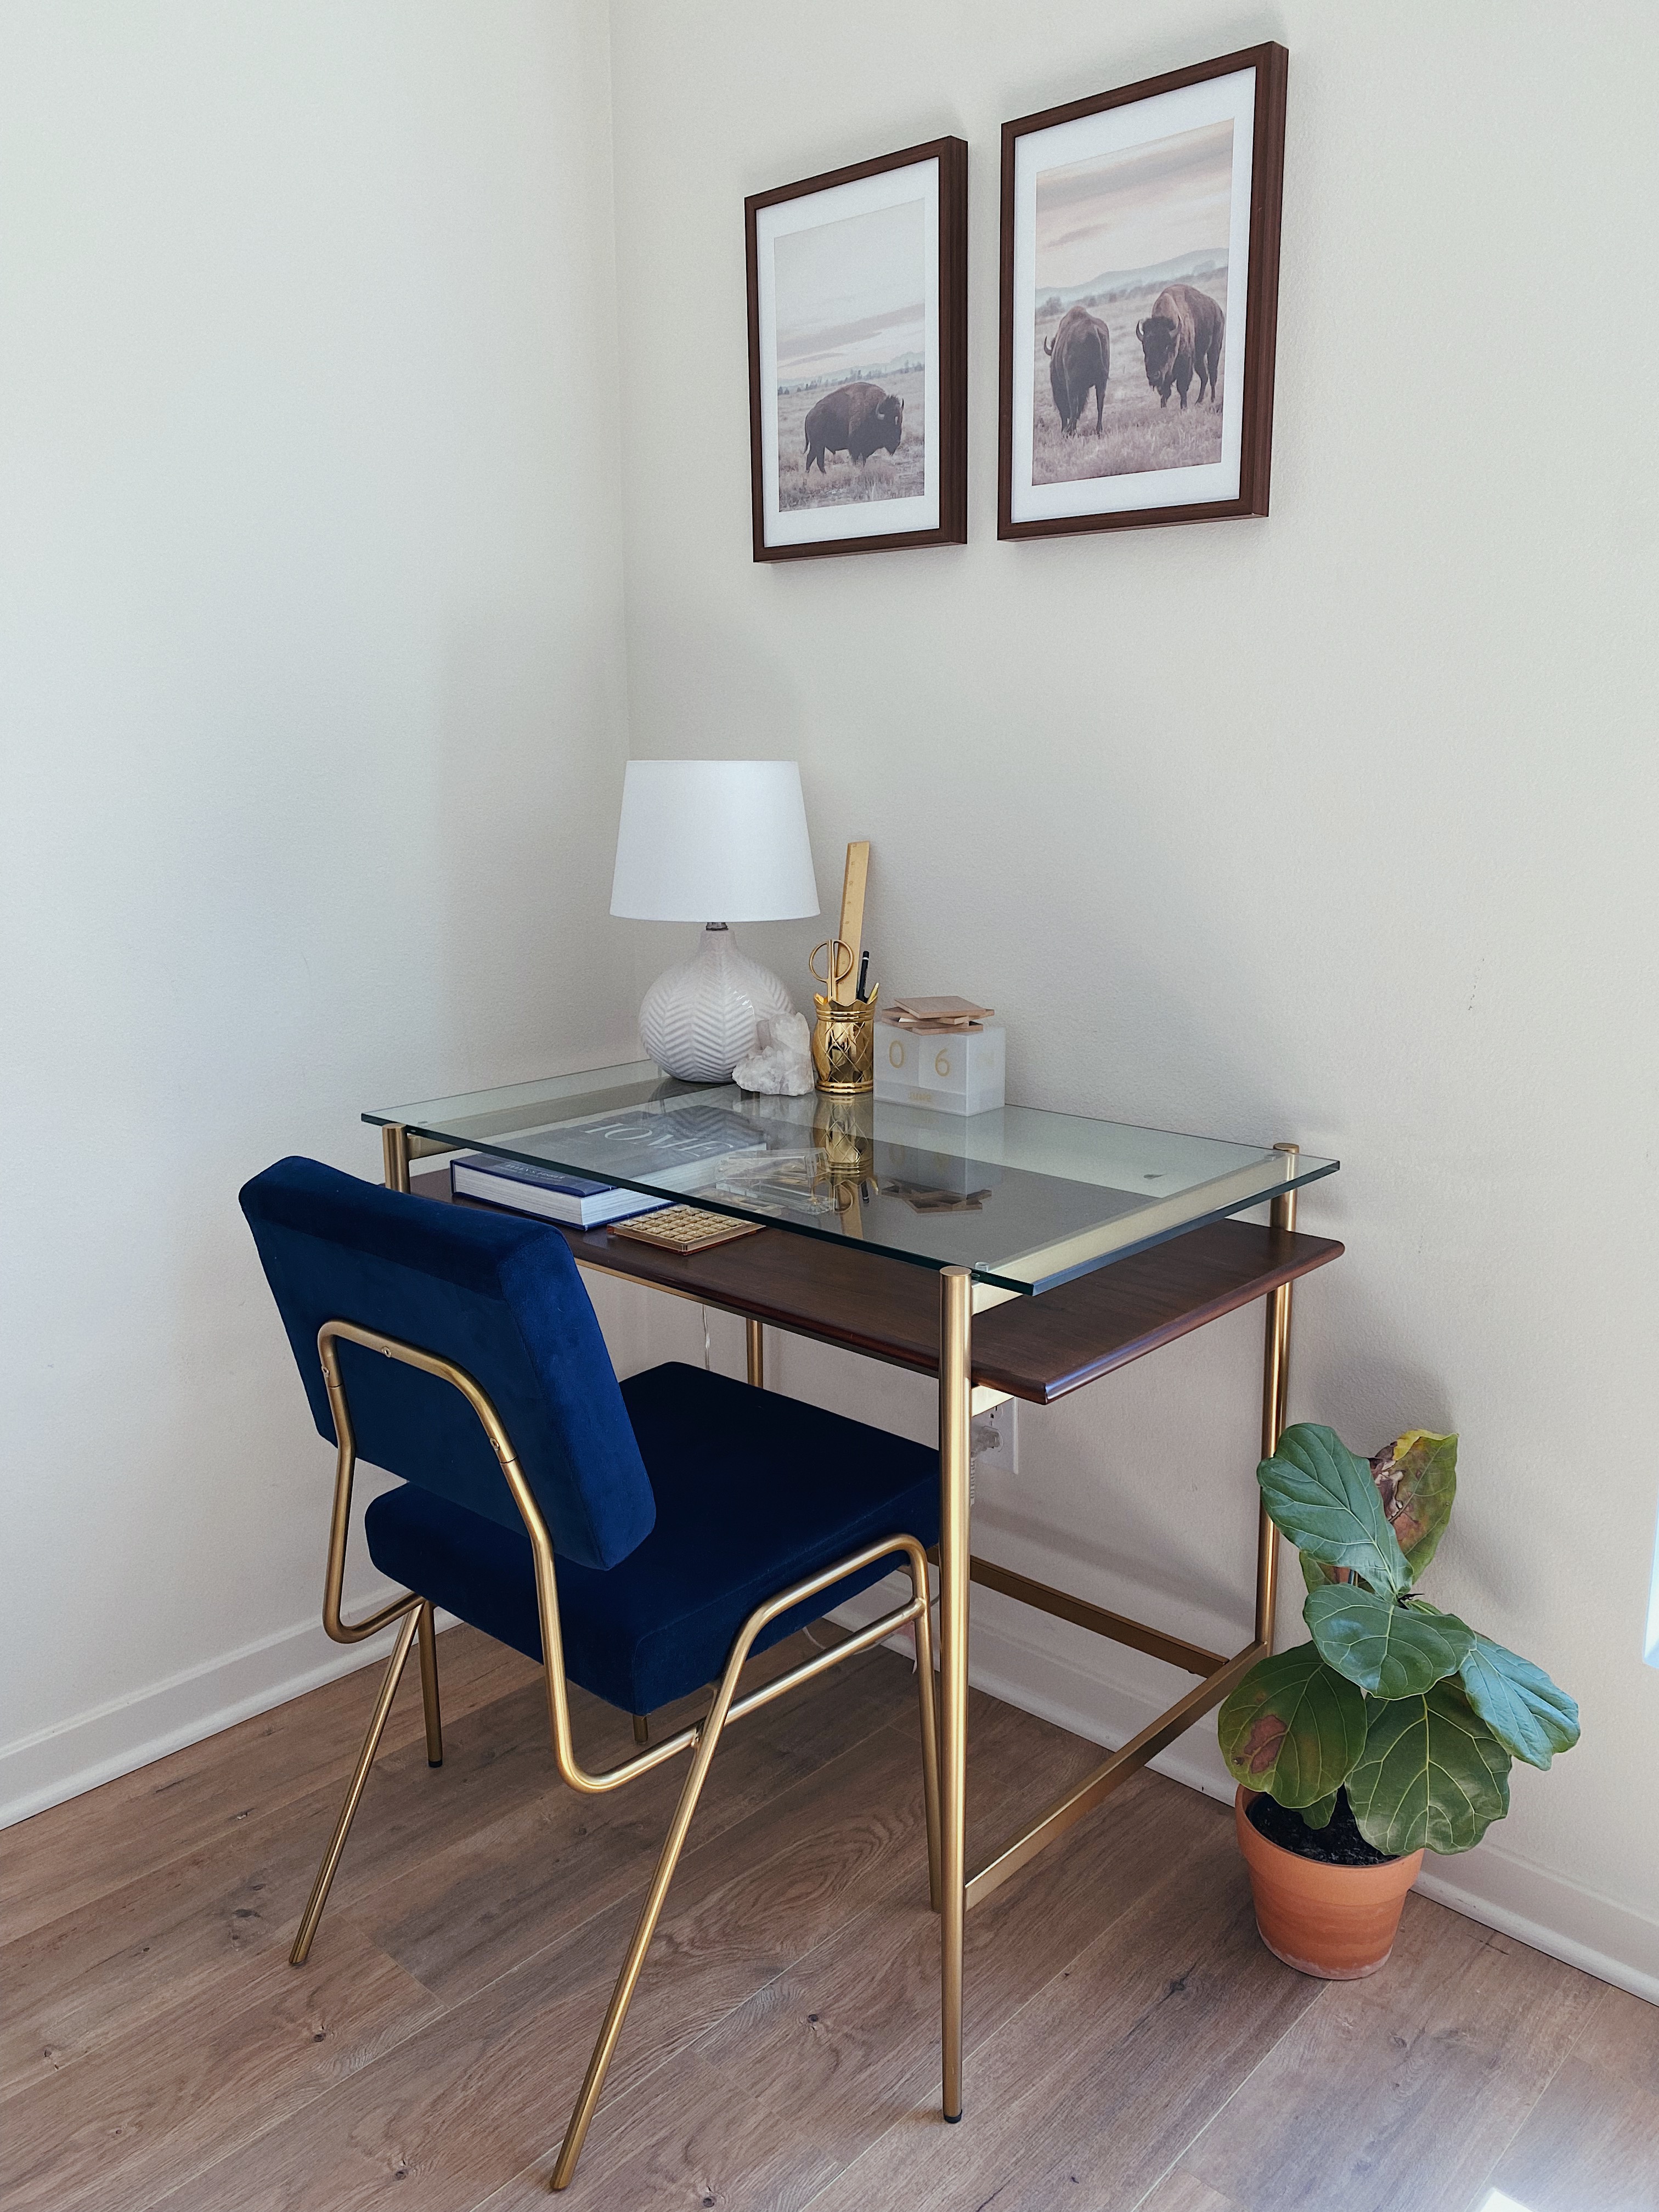
I added a reclaimed wood and iron bookcase from Overstock to go along with Ryan’s existing wood and iron bar cart, and bought desk accessories and wall decor in dark wood and gold. As time went on, I ended up buying myself a similar-themed desk along with a dark blue velvet and gold chair, both from West Elm. The point of my story is, you probably have more decorations and reusable pieces in your home than you think, so don’t throw everything away just yet. Even things like changing your accent pillows, adding a few pieces of wall art or buying a few plants will bring new life to your space and help you start to transition your style into something you love.
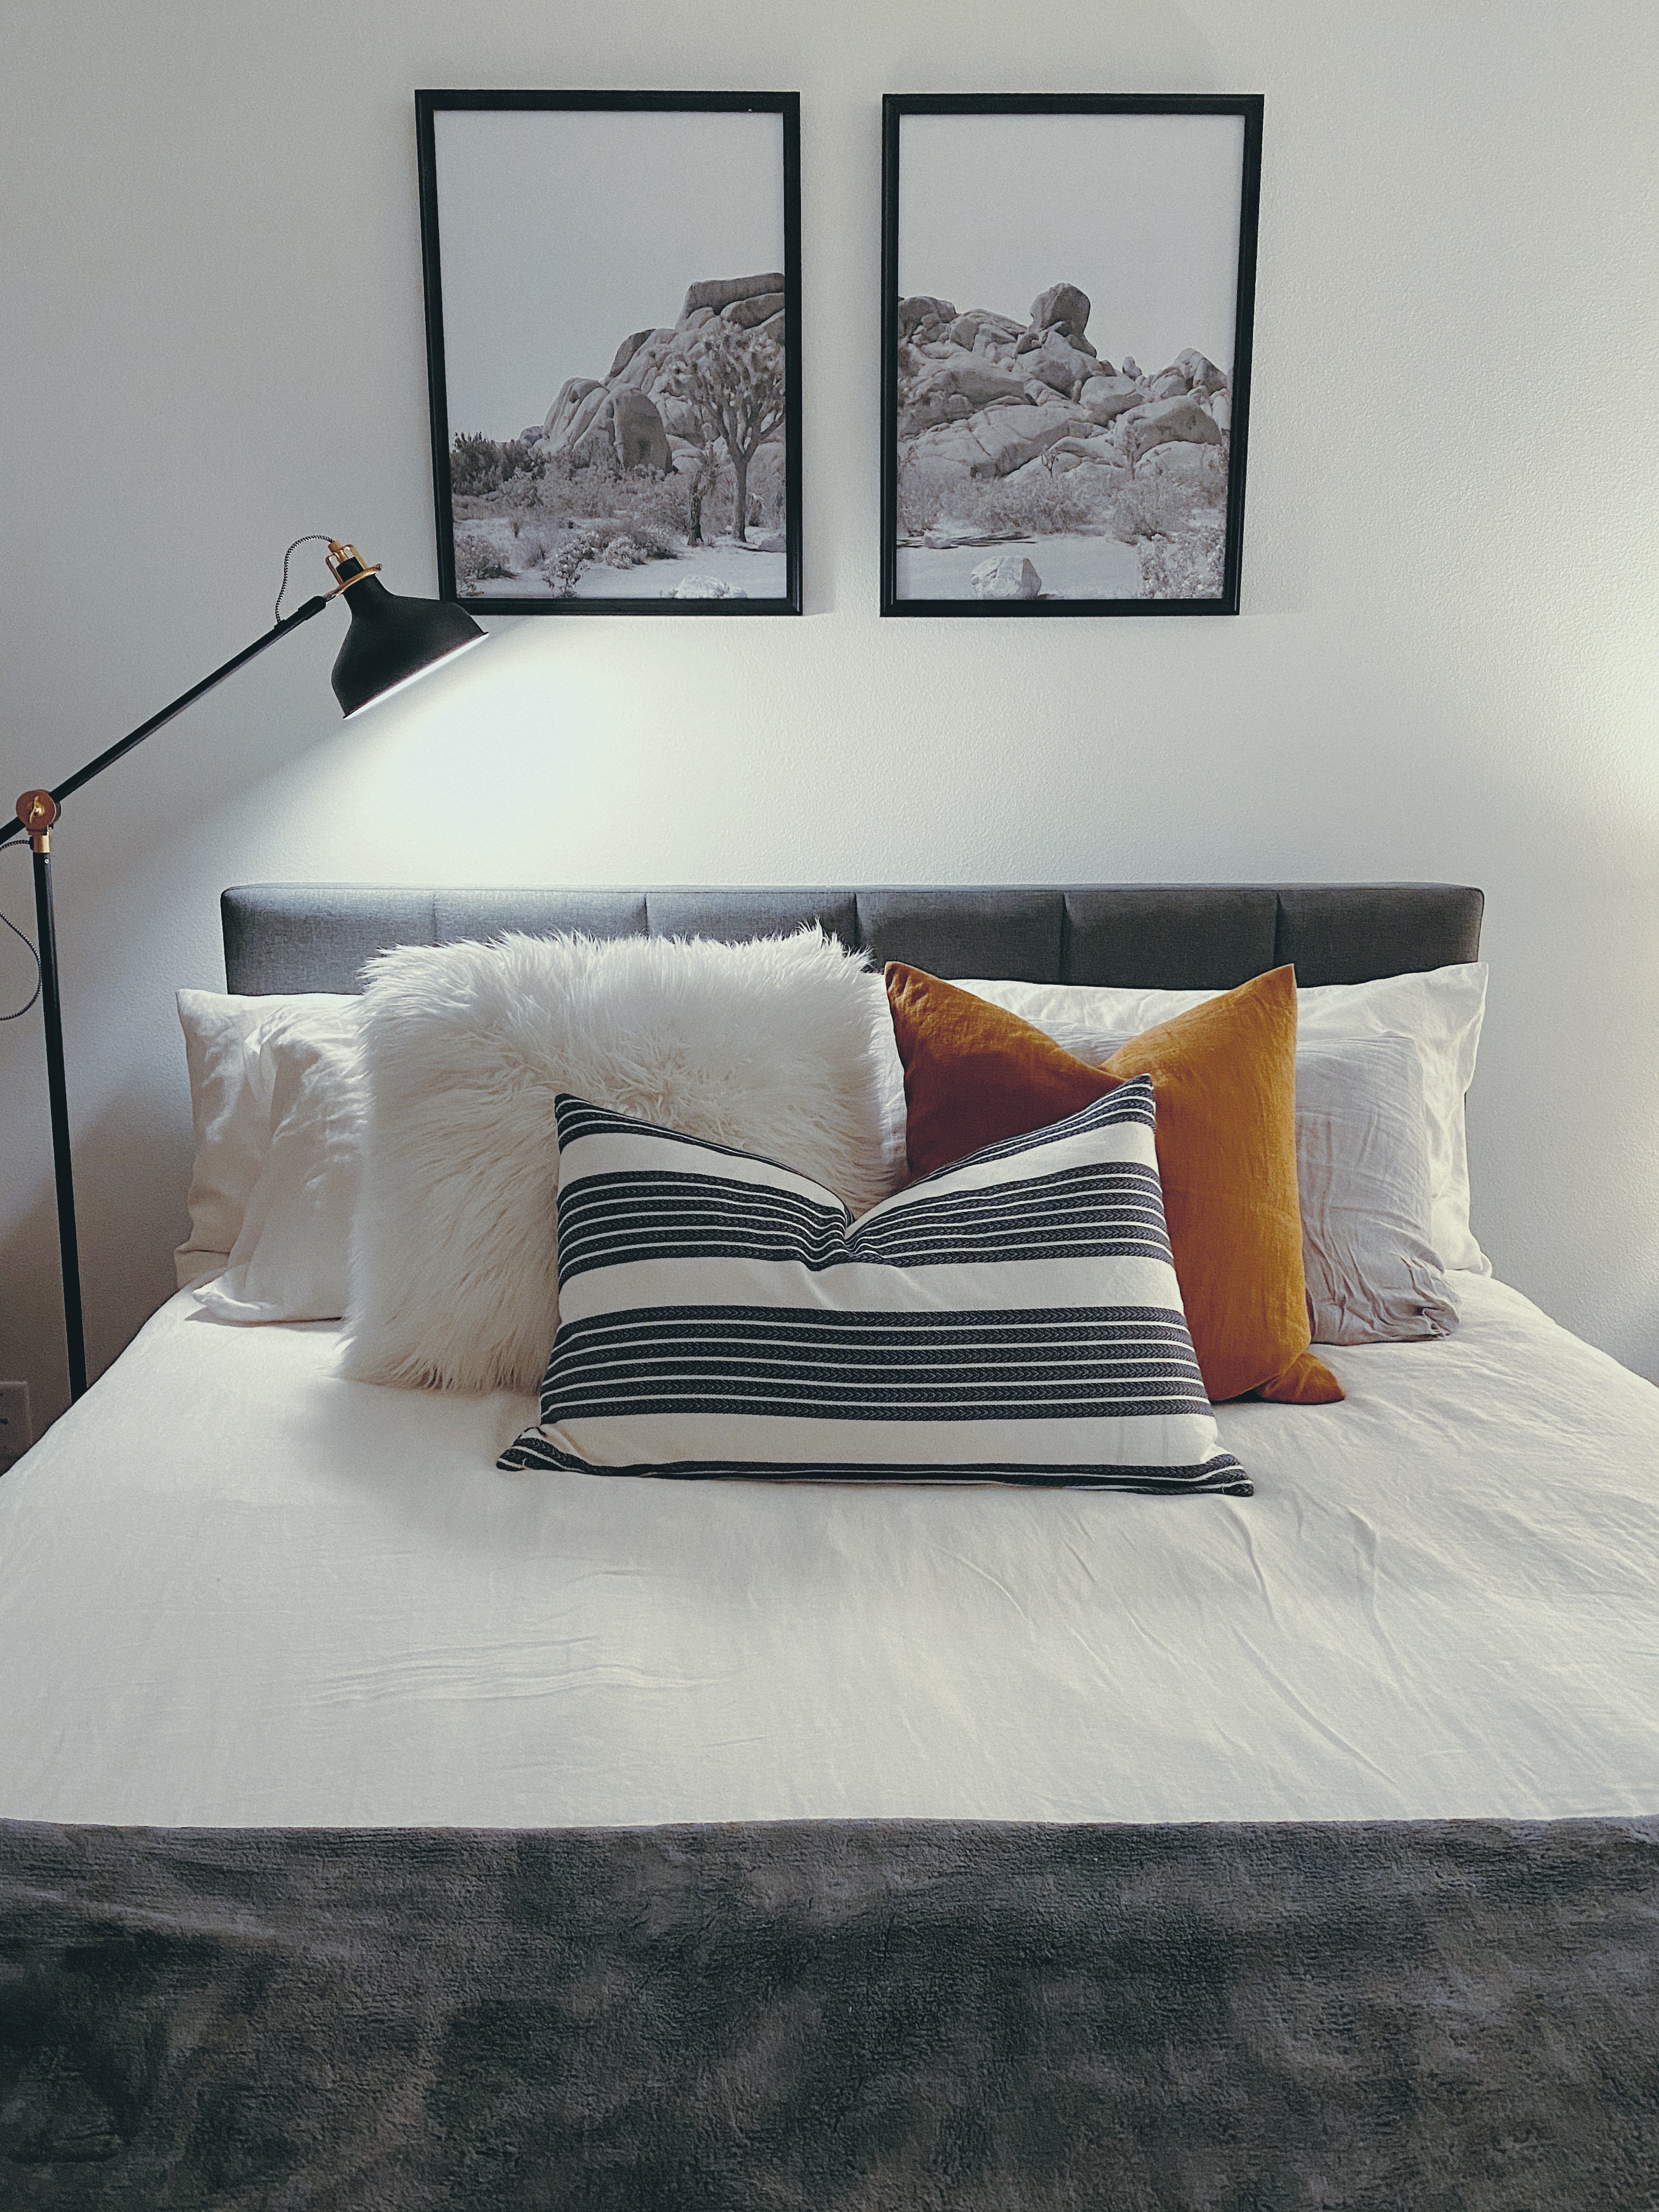
Another quick anecdote: our bedroom. When Ryan and I moved in together, we had a bit of trouble defining how we wanted our bedroom to be without completely starting fresh. I have a white IKEA bed frame (the MALM to be exact) and Ryan has a tufted gray bed frame from Wayfair. We ultimately decided on using his bed frame in our room, but our goal was an industrial vibe. Rather than getting rid of the bed frame, which I personally felt was dictating our space towards anything but industrial, I decided to focus on the pieces around it. This then started to turn a few wheels in my head – what if I create a conflicting contrast in this space? Soft and cozy meets hard industrial. Sounds terrible, right? Let me tell you this is one of my favorite spots in our home.
Here’s what I started with:
- Ryan’s dark gray tufted bed frame
- A mix of our linen sheets in varying grays and whites
- A furry pillow from Home Goods – part of my grad school décor
- Ryan’s wood bedside tables, also from Home Goods
Here’s what I added:
- Complimentary linen curtains from Pottery Barn with an iron curtain rod from Home Depot. This helped tie in the colors of gray that we have in the sheets and bed frame while slowly adding the industrial iron pieces in.
- An industrial-inspired lamp from IKEA. Again, this ties in that accent iron-like finish and brings in those industrial elements in a small yet impactful way.
- Two black-and-white photos. This not only ties in those gray hues of our sheets, bed frame and curtains and black hues from the iron, it also adds a vintage feel to the space reminiscent of previous eras. I actually chose to use images of the boulders in Joshua Tree for a few reasons: the texture of rock just feels industrial to me, Ryan loves rock climbing, and our décor down in the living room has a few desert-inspired pieces, including an image of Joshua Tree, so it added consistency throughout the house even through a different lens of style. I actually purchased these photos on Etsy, downloaded them digitally, and printed them at Staples. Then, I framed them in these simple black picture frames from Target.
- Lastly was color. This is completely optional, but I felt like all the grays and blacks were feeling a bit drab to me so I wanted to add color without going crazy. I picked up two accent pillows from IKEA in blue/white and burnt orange to add life to the space. I added the orange pillow after initially selecting the blue/white pillow because I felt that the blue was so close to the gray hues in the room. The blue/white pillow works to tie in the grays through the accent pillows themselves, but I wanted one single pop that complimented all of those colors, so I landed on burnt orange. Normally, I hate blue and orange together but for some reason this just worked for me visually.
So, without spending a ton of money I defined and re-created the style of both our bedroom and our office – as well as many other spaces in our home to date. Of course later down the line, we’ll likely replace the larger furniture pieces or even some of the smaller decorations as we continue to refine our style. But for now, this achieves the look we’re going for and is setting us on the right path. As much as we all want our homes to look as though they were ripped out of an interior design magazine, remember that your style is constantly evolving. Use what you have, add where you may, and if you must, donate the things that no longer define you.
Until next time…
xx K